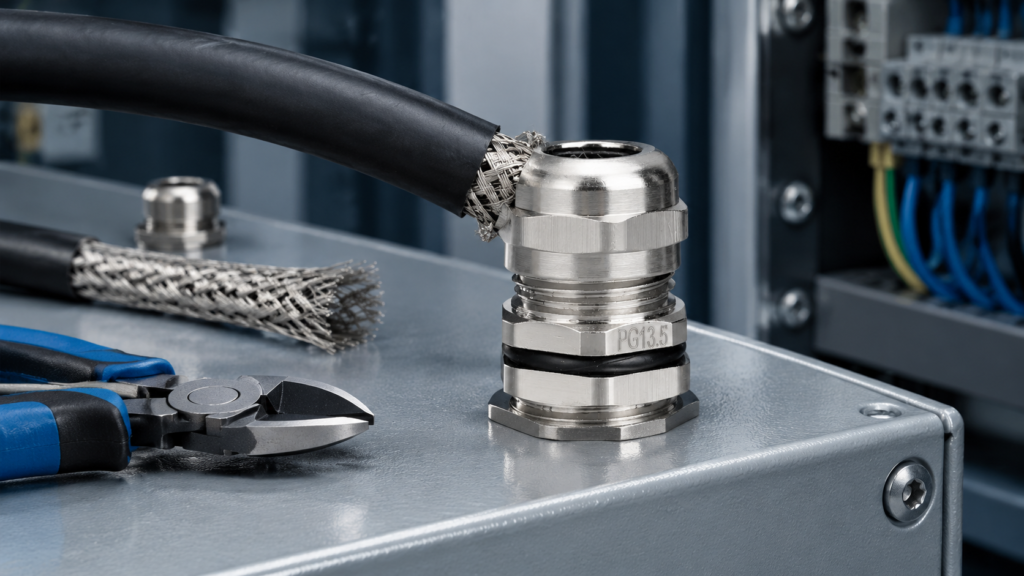
EMC cable gland installation is a standard gland installation with one extra step that decides whether the fitting does anything: the cable screen has to be bonded to the gland body, and the gland has to be bonded to the enclosure. Get the sealing right and skip the bonding, and you have paid for shielded hardware that performs like a plain gland.
This is the field procedure — what to prepare, the eight steps in order, how to check the bond with an instrument instead of by eye, and the six faults that account for almost every failed EMC termination.
Before You Start
Have these ready before you open the panel. A rework on a live cabinet costs far more than the two minutes of preparation.
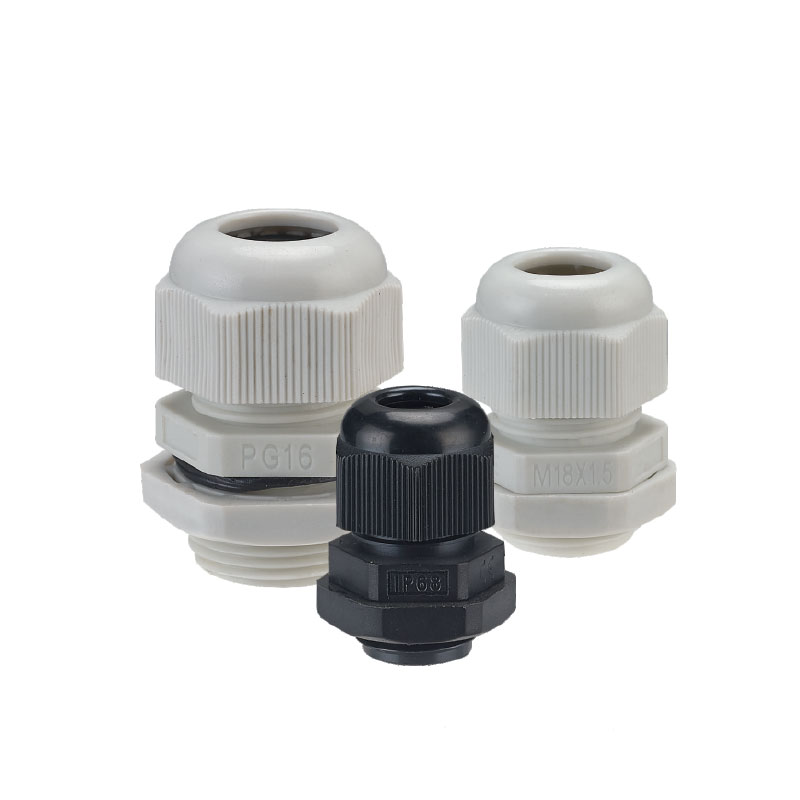
The right gland. Confirm it is the screened-cable version. The body of an EMC gland can look identical to the standard brass range such as the M20 metric gland , so check for the internal contact ring before you start. If the cable is unshielded, or the screen is terminated on a plate inside the cabinet, see EMC versus standard cable gland before you commit.
The cable’s actual outer diameter , measured with a caliper — not the nominal figure on the datasheet.
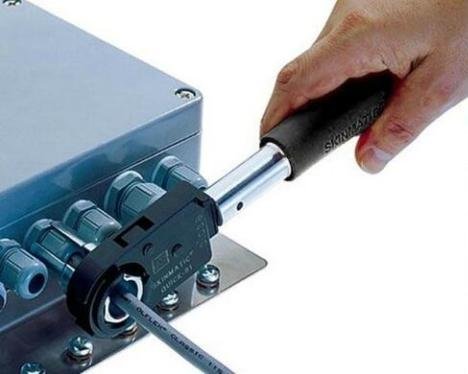
Tools: cable stripper or sheath knife, caliper, torque wrench or driver rated for the gland size, spanner or two if a locknut is used.
A milliohm meter or bonding tester for the continuity check. This is the tool most installations skip, and it is the one that proves the job.
Bonding hardware: earth tag, locknut or a masked bonding surface where the enclosure face is painted.
If this is your first time fitting a metal gland, work through the general step-by-step waterproof cable gland installation first — the sealing sequence is identical, and this article only covers what the EMC version adds.
Eight Steps to Install an EMC Cable Gland
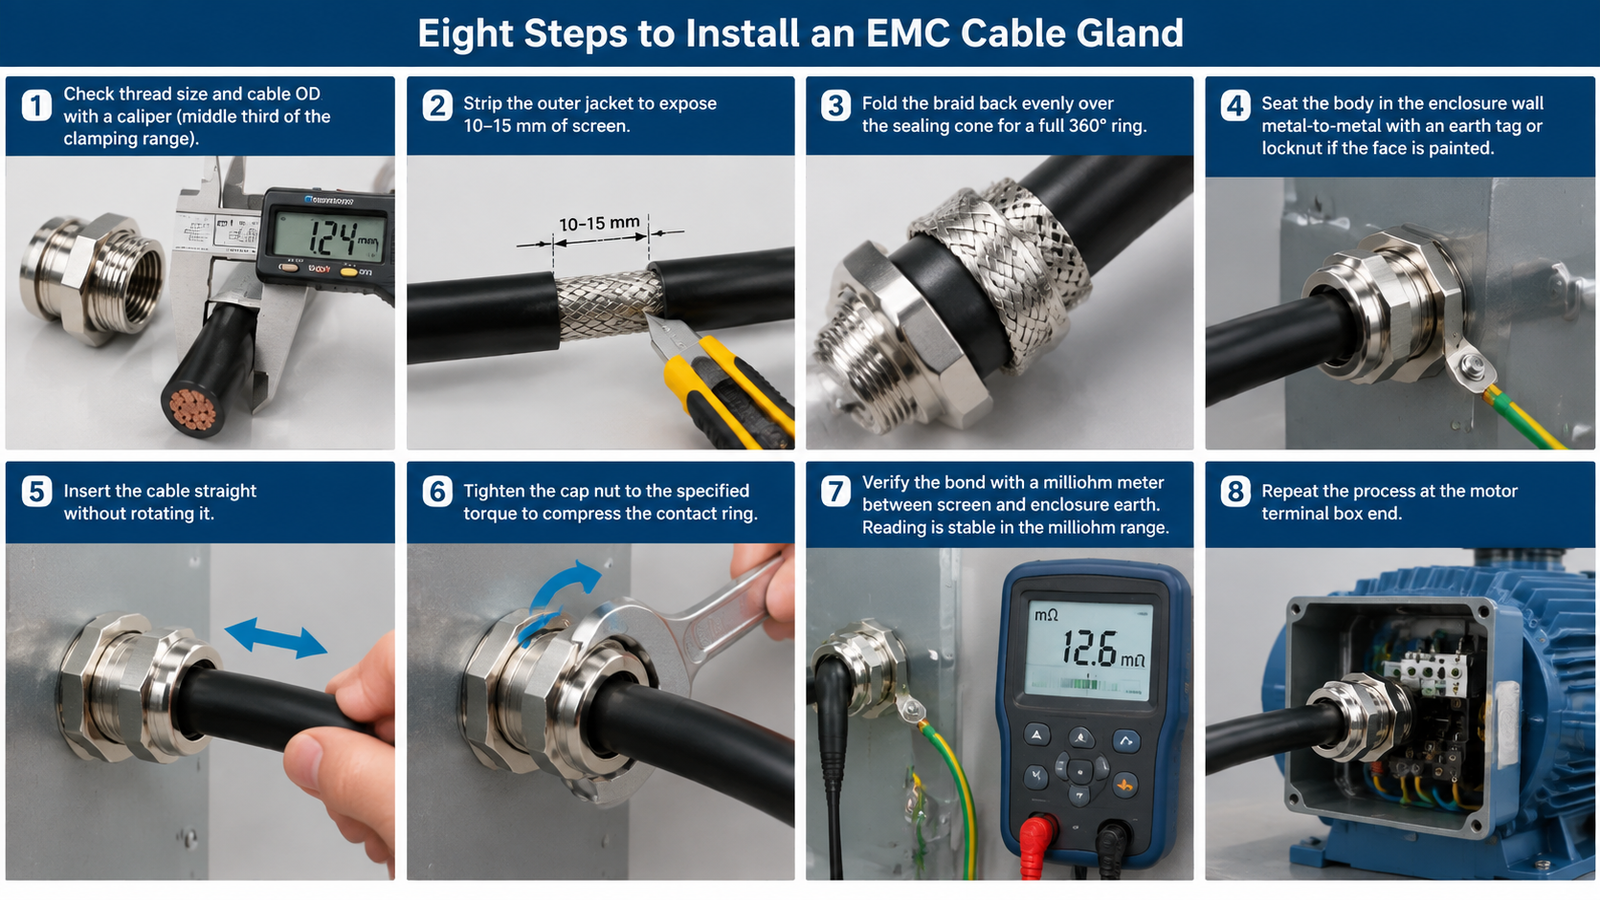
Isolate and plan the entry. De-energise the circuit, then confirm the thread matches the enclosure (metric, PG or NPT) and that the cable sits in the middle third of the gland’s clamping range. Do this before cutting anything.
Strip the outer jacket. Expose enough screen to fold back over the sealing cone — usually 10–15 mm, but check it against the gland’s own strip dimension. Do not nick the braid, and do not score the foil.
Fold the braid back evenly over the cone so it encircles the fitting in a full ring. A braid bunched on one side cannot give 360° contact no matter how hard you tighten. If the screen is foil, seat it flat against the contact insert instead of folding.
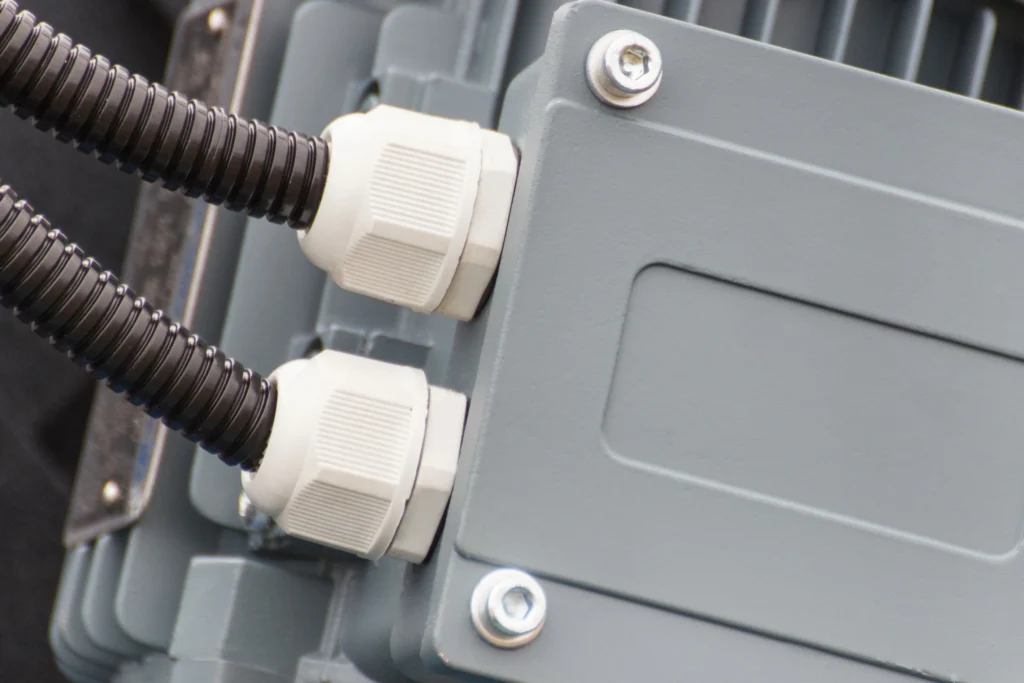
Seat the body in the enclosure wall and tighten it so bare metal meets bare metal. If the panel face is painted or the wall is non-metallic, fit an earth tag or use a locknut to bridge the finish — this is where most cabinets lose the shield path.
Insert the cable through the gland without rotating it against the braid. Twisting the cable after the screen is seated can pull the braid out of contact.
Compress the contact ring. Tighten the cap nut to the gland’s specified torque so the spring fingers or cone close evenly around the full circumference. Stop when the ring seats — do not keep going to crush the joint closed.
Verify the bond with a meter. Measure between the cable screen and the enclosure earth. Record the reading in the handover file.
Repeat at the other end. On a drive-fed circuit, terminate the screen at the motor terminal box as well, so the Faraday cage is closed.
Torque and Strip Dimensions: What Governs Them
There is no universal torque figure that suits every gland size and material — the setting comes from the gland’s own datasheet. What you can control is what each setting is meant to achieve, which is the part that actually prevents rework.
Setting
Governed by
What a correct result looks like
Screen exposure length
The gland’s stated strip dimension
Braid reaches the contact ring with no bunching and no exposed screen beyond the gland
Cap nut torque
The gland’s specified figure for that size and material
Contact ring closed evenly around the circumference, braid undeformed
Body / locknut torque
Enclosure wall thickness and thread size
Continuous metal-to-metal contact with the panel — no paint or washer in the electrical path
Screen-to-enclosure resistance
Measured after assembly
A stable milliohm-range reading; a drifting or ohm-range reading means an isolating layer or a loose joint
Under-tightening leaves a high-resistance contact that may pass a bench check and fail in service under vibration. Over-tightening crushes the braid and cuts the contact surface into the strands, which reduces the effective contact area rather than improving it.
How to Verify the Shield Bond
A visual check cannot tell you whether a screen is bonded. Measure it.
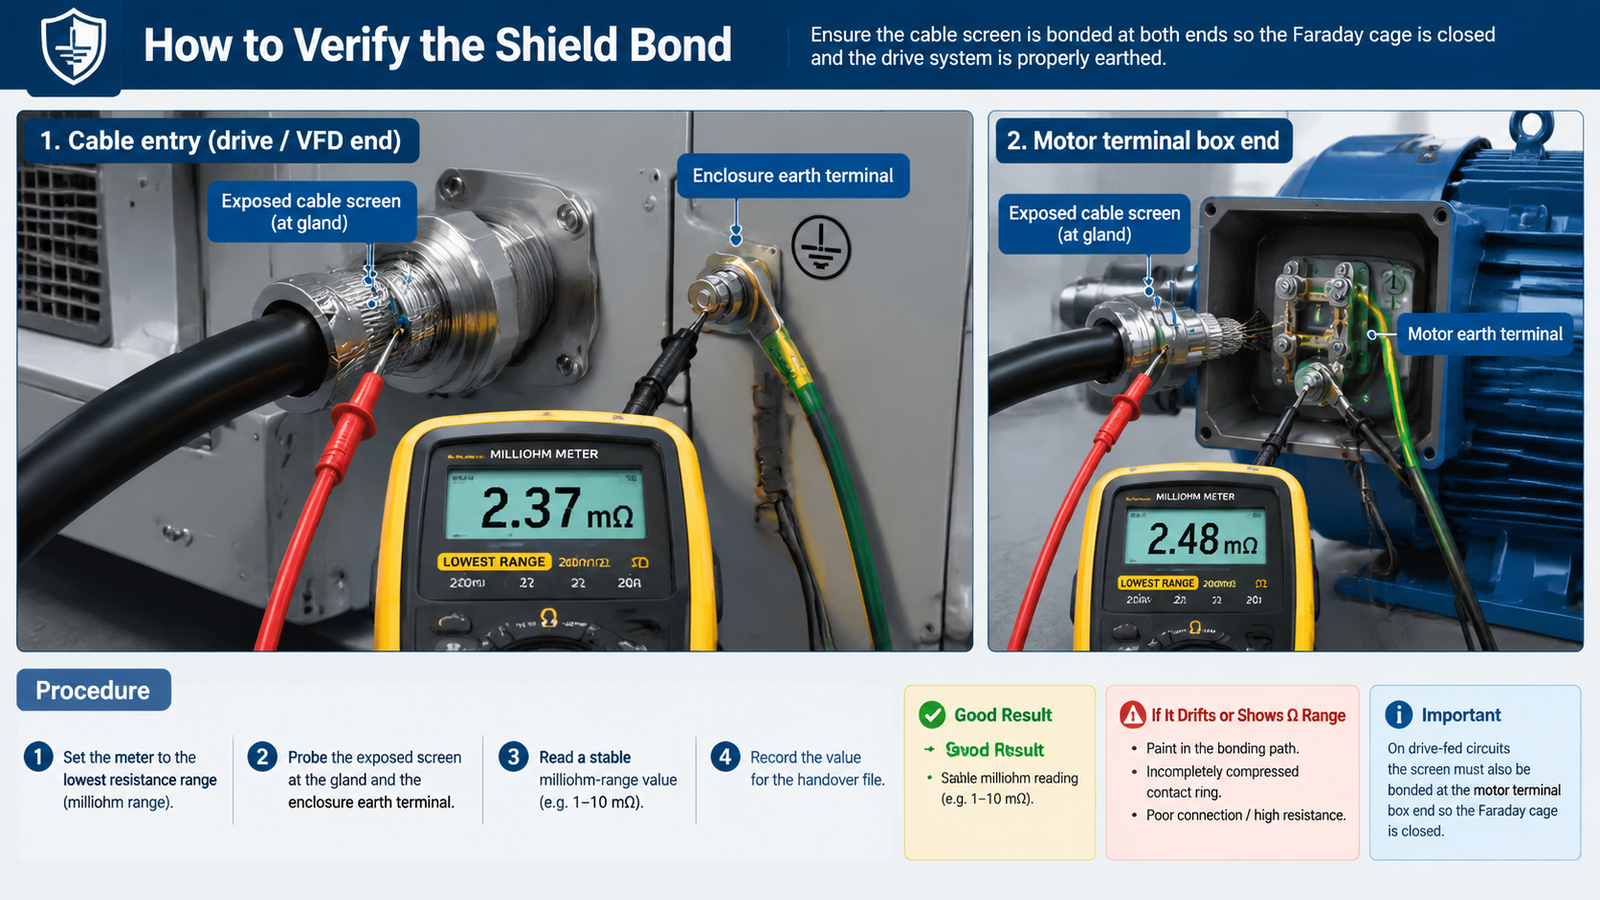
Set the meter to its lowest resistance range, or use a dedicated bonding tester.
Probe the exposed screen or braid at the gland, and the enclosure earth terminal. Keep the probes clear of painted surfaces.
Read the resistance. It should sit in the milliohm range and hold steady when you disturb the cable gently. A reading that jumps, drifts or lands in the ohm range points at a coating in the path or a contact ring that is not fully compressed.
Record the value with the circuit identifier. On commissioning documents, this single number is what demonstrates the shield termination is real.
EMC cable gland installation is where an EMC gland either works or becomes an expensive standard gland. The sequence is short: measure the cable and confirm the thread, expose and fold the screen evenly, bond the body to bare metal, compress the contact ring to the specified torque, then measure the screen-to-enclosure resistance and write the number down. Do the same at the far end of the cable.
Everything that fails in the field fails at one of those points — an isolating layer of paint, a bunched braid, an over-tightened cap nut, or a bond at one end only. None of them are visible on a walk-through. All of them show up on a meter, which is why the continuity check is not optional.
Not sure which gland suits a given circuit, or need the torque figure for a specific size? Send us the cable list and thread standard, and our engineering team will return the correct gland selection, the torque data and an FOB quotation within one working day — contact us here.
FAQ
How do I install an EMC cable gland?
Strip the jacket to expose the screen, fold the braid evenly over the sealing cone, seat the body in bare metal on the enclosure, insert the cable, then tighten the cap nut to the specified torque so the contact ring closes around the full circumference. Finish by measuring continuity between the screen and the enclosure earth.
How tight should the cap nut be?
To the figure stated for that gland size and material — there is no universal torque value. Tight enough to close the contact ring evenly around the circumference, not so tight that the braid is crushed or cut. If the gland came without a figure, ask the supplier for the torque data rather than estimating.
How do I test that the screen is properly bonded?
Measure the resistance between the exposed screen at the gland and the enclosure earth terminal with a milliohm meter or bonding tester. A stable milliohm-range reading indicates a bonded screen; a drifting or ohm-range reading points to paint in the path or an incompletely compressed contact ring.
Do I need special tools for an EMC cable gland?
No exotic tooling — a stripper, caliper, correct spanner or driver and a torque wrench. The one instrument people omit is the milliohm meter or bonding tester, and without it there is no way to prove the shield termination is electrically real.
Can I retrofit an EMC gland to an existing installation?
Yes, provided the cable is shielded and there is enough slack to re-strip and re-terminate the screen. Retrofit is common on panels that were built with standard glands on drive and encoder cables. Confirm the cable’s actual OD, and re-check the enclosure bonding path while the panel is open.
If you ever typed “are cable glands waterproof” into Google, you not alone. It one of those procurement-and-engineering questions that sounds simple, but it hides a bigger issue: “waterproof” is not a precise engineering specification. In real projects—outdoor telecom cabinets, marine sensors, washdown food lines, rooftop PV combiner boxes—what you really need is a cable […]
As a crucial accessory connecting cables and equipment, the cable gland plays a vital role in protecting cables, preventing water and dust ingress, and providing grounding. Whether in industrial automation, electrical control, marine, mining, or other demanding environments, choosing the right cable gland is essential. Today, let’s take a closer look at the main types […]
We use cookies to enhance your browsing experience, serve personalised ads or content, and analyse our traffic. By clicking "Accept All", you consent to our use of cookies.