A waterproof cable entry gland is the fitting that seals the point where a cable passes through a panel, roof, deck or enclosure wall. Choosing one is not mostly about picking the most expensive material — it is about matching the entry construction to the surface, the cable and the water exposure that joint will actually see.
This guide stays on that single subject. It covers the entry constructions that matter (threaded bulkhead glands, low-profile deck seals, cable clams and no-drill adhesive boxes), how to size one from the cable’s outer diameter, and how to install both the threaded and the no-drill methods so the seal holds. If you already know your cable, send us the cable OD, the surface and the target IP rating and we will confirm the part.
What Is a Waterproof Cable Entry Gland?
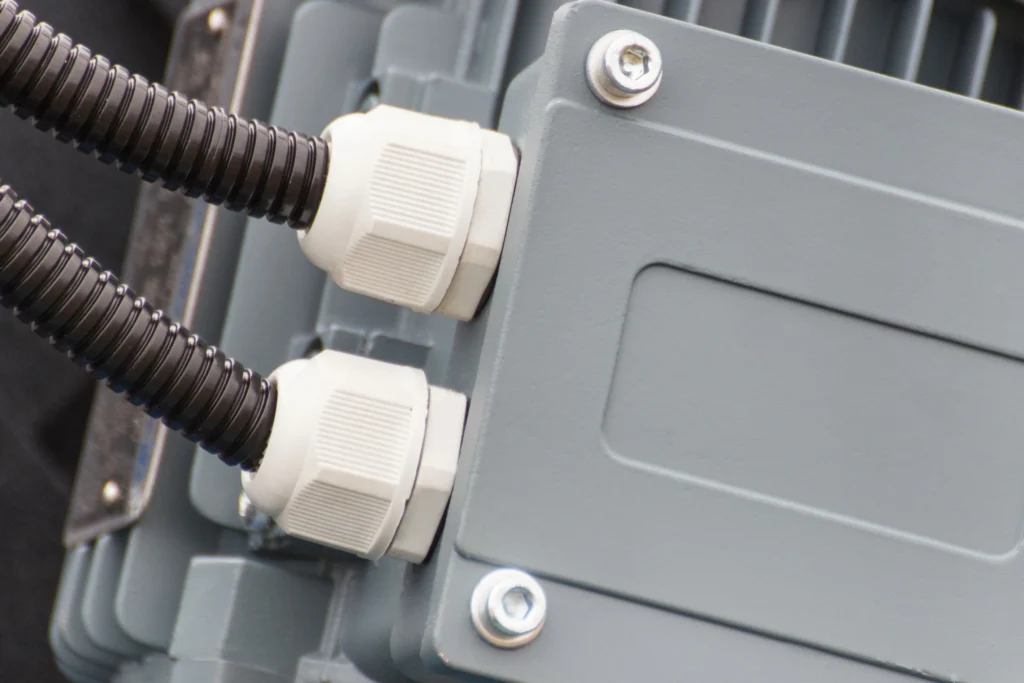
A waterproof cable entry gland is a fitting that secures a cable where it passes through a panel, roof, deck or enclosure wall, and seals that opening against water and dust. It does two jobs at once: it holds the cable mechanically so pulling and vibration never reach the terminals inside, and it keeps the enclosure’s rated protection intact at the one point where the shell is deliberately broken.
How It Differs from Standard Cable Glands
Every cable gland seals — what separates a waterproof entry gland from a general-purpose one is the sealing stack. Waterproof entry glands add gaskets, O-rings and a dedicated compression nut on top of the basic body and clamping arrangement, and they are built to tighter tolerances so the finished assembly can hold a declared IP rating rather than a nominal one.
That extra sealing is what makes them suitable for roof and deck penetrations, marine bulkheads and outdoor enclosures. The trade-off is cost and a slightly larger footprint, which is why they are specified at exposed entry points rather than on every cable inside a dry cabinet. For sheltered indoor entry, a standard cable gland is usually sufficient.
What it covers
Typical standard or spec
What it means in practice
Ingress protection
IP67 / IP68
Dust-tight and watertight; IP68 is declared with a depth and duration and covers prolonged immersion
UV stability
UV-stabilised PA66 or ABS body, or metal
Stops the body chalking and cracking under years of direct sun on a roof or deck
Устойчивость к коррозии
Nickel-plated brass, stainless steel 304 / 316L
Holds up to salt spray and chemical exposure at coastal, marine and industrial entries
Types of Waterproof Cable Entry Glands
Entry glands are usually grouped by two things: which way the cable leaves the fitting, and how the fitting is attached to the surface. Those two decide whether a given entry will physically work on your panel, roof or deck.
Straight-through entry: the cable passes straight through the panel or wall, with the body square to the surface. The simplest and the most common construction on enclosures and bulkheads.
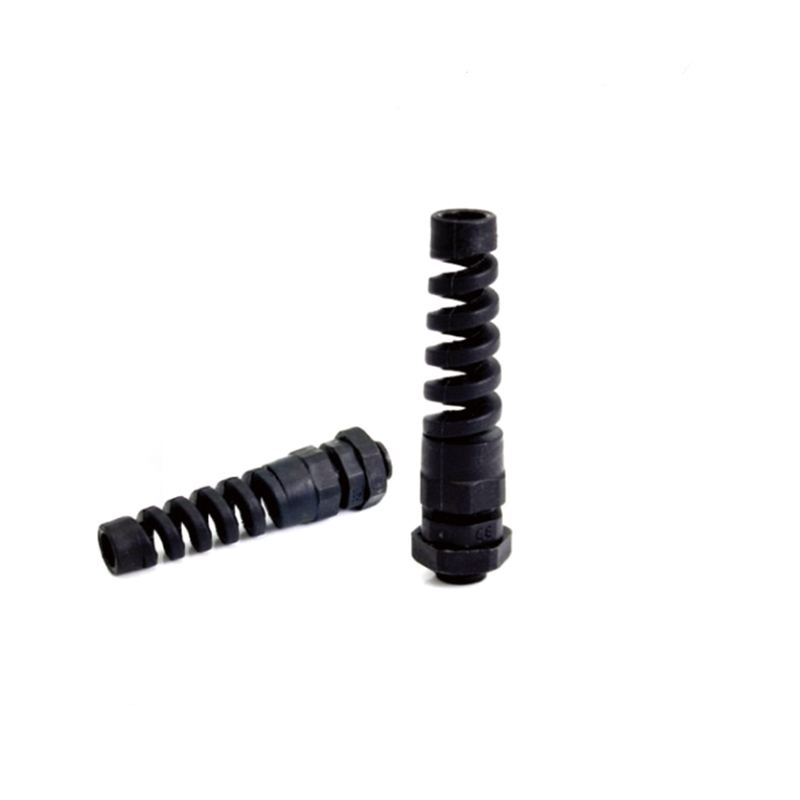
Angled / side-entry: the body turns the cable through roughly 90° (or another angle) so it can be routed parallel to the wall. Used where depth behind the surface is limited or the minimum bend radius would otherwise be violated.
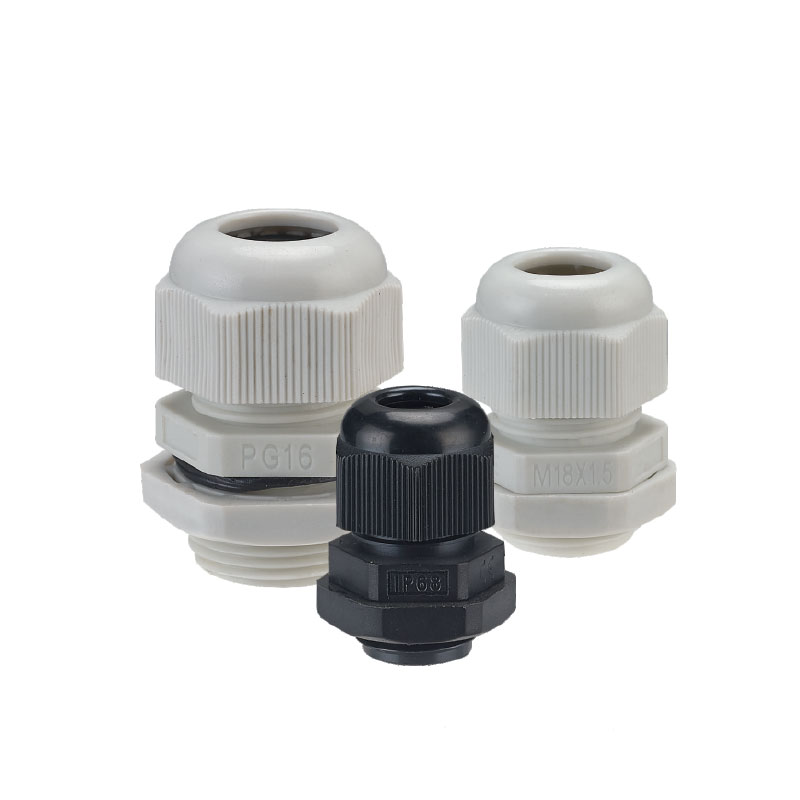
Threaded bulkhead gland: threads into a drilled or punched hole and is locked from the inside with a nut and sealing washer. The default for control panels, junction boxes and marine bulkheads, and the type that carries the widest range of thread standards.
Low-profile deck seal: a very short body that sits almost flush with the surface. Chosen on decks, roofs and boat cabins where headroom above the entry is tight or the finish has to stay neat.
Cable clam / split deck seal: clamps around the cable and seals the opening without a full gland body. Common on boat decks, RV roofs and any retrofit where the cable already terminates in a connector that cannot come off.
No-drill adhesive entry box: bonded to the surface rather than bolted through it, for roofs and thin or load-bearing panels that must not be weakened by a hole. The cable still passes through a sealed compression entry inside the box.
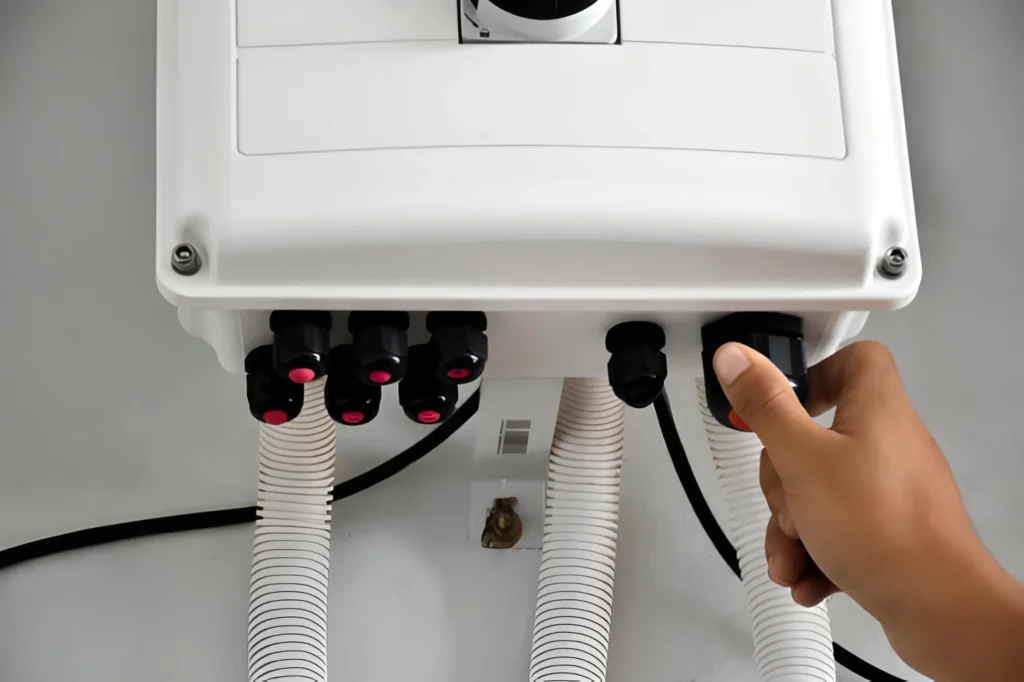
Single vs dual / multi-cable entry: a single-cable entry seals one cable; dual, triple and multi-hole entries pass several cables through one sealed opening. On solar arrays and marine decks this removes a row of separate holes and reduces the number of potential leak paths.
Material choice at an entry point follows the exposure, not the budget: UV-stabilised ABS and nylon suit solar, lighting and general outdoor entries, while nickel-plated brass and stainless steel are what coastal and marine deck work is normally specified in. Our морской водонепроницаемый кабельный ввод range covers the corrosion-led end of that.
What to Look For in a Quality Cable Entry Gland
Most entry glands look alike in a photograph. These six things are what separate one that still seals in year five from one that weeps at the first maintenance:
Характеристика
What to look for
Степень защиты IP
IP68 where standing water or immersion is possible; IP67 for splash and washdown. Ask for the depth and duration in writing — “IP68” alone does not define a test.
Cable diameter range
The seal or insert range has to bracket your measured cable OD. Sizing is the single most common cause of a leak at an entry point.
Sealing mechanism
A tapered rubber seal plus an O-ring and a compression nut — not a single flat washer that only closes on the thread.
Strain relief and anti-twist
A clamp that grips the jacket without crushing it, and a body that will not rotate as the nut is tightened.
How to Choose the Right Size and Type
Sizing comes before type selection, because the cable OD rules out most options on its own. Measure first, then pick the construction that fits the surface.
How to Measure Cable Outer Diameter
Strip the jacket back only as far as the entry needs — keep the outer sheath intact at the point where the seal will close.
Measure the outer diameter at that exact point with a caliper. Do not size from the conductor area or from the connector.
On a multi-cable entry, measure each cable separately. The largest cable sets the insert; the others must still fall inside their own bores.
Size Ranges by Entry Application
Cable OD (mm)
Typical gland size (metric / PG)
Typical entry application
3 – 6.5
M12 / PG7
CCTV, sensor and lighting cable entries
4 – 8
M16 / PG9
Small instrument and signal entries
6 – 12
M20 / PG13.5
Solar PV string cables, RV and van roof entries
10 – 14
M22 / PG16
General outdoor enclosure entries
13 – 18
M25 / PG21
Marine deck and bulkhead entries, multi-cable seals
18 – 25
M32 / PG29
Heavy feeders and thicker jacketed or armoured cable
On a dual or multi-cable entry the clamping range is split across the bores, so check the insert and not just the thread size. Full charts by material are in our таблица размеров нейлоновых кабельных вводов.
Avoid These Common Sizing Mistakes
Oversizing: a gland that is too large lets the seal sit loose and water passes the entry even at full torque.
Undersizing: a gland that is too small will not close over the jacket, and forcing it damages the sheath at exactly the point that has to stay watertight.
Sizing from the connector: on a pre-terminated cable the connector is usually wider than the jacket. Size the seal on the jacket and check separately that the connector will pass the entry.
Installation: Threaded and No-Drill Methods
Two installation routes cover nearly every outdoor entry: a threaded gland into a drilled hole, and an adhesive-mounted entry where drilling is not acceptable. The sealing principle is the same in both — compress a rubber seal onto a clean, round cable jacket — but the preparation differs.
Threaded Entry Installation
Cut the hole to size. Drill or punch to the gland’s specified cut-out and deburr both faces. A burr holds the washer off the surface and creates a leak path.
Seat the washer and insert the body. Fit the sealing washer on clean, bare metal — not over powder coat or paint, which compresses and relaxes under torque — push the body through from outside, then fit the locknut from inside.
Tighten the body first, then the compression nut. Take the body to roughly 60% of the final torque, run the cable through, and then tighten the compression nut onto the jacket.
Torque to spec. Under-tightening leaves a gap; over-tightening deforms the seal permanently and it will not reseal on the next service. Use a torque wrench where a figure is given.
Verify strain relief. The cable must not move at the entry when pulled. If it does, the seal is not compressed and the entry will leak.
No-Drill Adhesive and Deck Seal Method
Prepare the surface. Clean the roof, deck or panel thoroughly. Adhesive entries fail on dust, oil or release agent far more often than they fail on the cable seal.
Dry-fit, then bond. Check the cable run and bend radius before peeling the backing, then press the box firmly over its full footprint rather than just the centre.
Seal the perimeter. Where the manufacturer recommends it, run a bead of neutral-cure silicone around the edges as a second line of defence — but never rely on sealant instead of the compression entry itself.
Fit the cables and compress. Pass the cables through and tighten the compression fittings so the seal closes on the jacket.
Common Mistakes and Troubleshooting
Loose nuts: the usual cause of a drip at an otherwise correct entry. Re-check torque after the first thermal cycle and after 24 hours in service.
Damaged or flattened seals: replace rather than re-torque. A seal that has taken a set will not reseal at any torque.
Wrong hole size: an oversized hole lifts the washer off the rim; an undersized one galls the thread and leaves the body short of the surface. Redo the hole.
Sharp bends at the entry: route the cable with a smooth curve and support it, so the weight of the run is not hung on the seal.
Jacket damage: a nick at the seal line becomes a leak path. Inspect the jacket where the seal lands before you close the nut.
Applications: Solar, RV, Marine Deck and Industrial Panels
Entry glands are specified at the points where a building, vehicle or vessel is actually penetrated, which is why the requirement changes so much from one application to the next.
Solar PV and RV / van roofs: the cables leave through the roof skin and then sit in sun and standing water. UV-stabilised nylon at IP68 is the usual choice, with a low-profile or dual entry to keep the roof clean. On coastal or desert sites, move the entry to stainless steel 316L.
Marine deck and bulkhead penetrations: salt spray, washdown and constant movement. Stainless steel 316L at IP68 is the default for exposed deck work; keep the sealing washer in place and the surface bare beneath it to avoid a galvanic couple with aluminium or painted steel.
Off-grid cabins, sheds, CCTV and outdoor lighting: long weather exposure with little maintenance access, so a replaceable seal and a UV-stable body matter more than a low unit price.
Industrial and commercial panels in wet or dusty areas: factories, warehouses and outdoor control panels, where the entry has to hold an IP rating and still pass a large number of cables through one wall.
The entry type is usually decided by the surface, and the material by the exposure. If a conventional gland turns out to suit the job better than an entry seal, compare the ranges on our водонепроницаемый кабельный ввод hub first.
Maintenance and Longevity
Inspect on a schedule: look for cracks, hardening or compression set in the seal, loosened nuts, and any sign of water ingress or corrosion — especially at outdoor and marine entries where exposure is most intense.
Clean the seal area: remove dirt, salt deposits and chemical residue, which degrade rubber and accelerate corrosion on plated brass and stainless steel.
Re-tighten rather than over-tighten: bring fittings back to the specified torque. Excess torque cracks seals and strips threads, and it shortens the life of the entry.
Replace the seal, not the whole entry: on serviceable designs a new gasket or insert restores the rating at a fraction of the cost — check that spares are available before you specify.
Replace on signs of wear: a cracked body, a flattened seal or a cable that no longer grips is a failed entry, even if it is not yet leaking.
ЧАСТО ЗАДАВАЕМЫЕ ВОПРОСЫ
What does IP68 mean for a cable entry gland?
IP68 means the entry is dust-tight and has been tested for continuous immersion, which suits deck penetrations, roofs that pool water and any entry that can sit under water. Unlike IP67, IP68 is declared with a depth and a duration — ask for both in writing rather than accepting the number on its own.
How do I know what size cable entry gland I need?
Measure the cable’s outer diameter at the point where the seal will close, then match it to the gland’s clamping range rather than to its thread size. Oversizing lets water past the seal; undersizing damages the jacket at the worst possible point.
Which material should I choose for a cable entry gland?
Follow the exposure. UV-stabilised nylon or ABS covers general outdoor, solar and lighting entries. Nickel-plated brass covers industrial and sheltered marine work. Stainless steel 316L is the choice for exposed decks, coastal sites and washdown, where salt spray and cleaning chemicals shorten the life of anything else. The full comparison is in our cable gland materials guide.
Send us the cable OD, the surface you are entering, the number of cables and the target IP rating and we will confirm the entry type, the size and a lead time in one reply — contact us here.
Изучите прочные водонепроницаемые кабельные сальники с классом защиты IP67 и IP68 из нейлона, латуни и нержавеющей стали для надежной защиты кабеля и снятия напряжения.
Среди множества аксессуаров для электрических соединений водонепроницаемый кабельный сальник играет важнейшую роль. Он не только защищает кабели, проникающие в корпуса оборудования, от попадания воды и пыли, но и повышает общую безопасность и надежность системы. Понимание материалов и областей применения водонепроницаемых кабельных вводов помогает инженерам и покупателям в таких отраслях, как промышленность, связь, [...]...
Мы используем файлы cookie для улучшения вашего восприятия, предоставления персонализированной рекламы или контента, а также для анализа нашего трафика. Нажав кнопку "Принять все", вы соглашаетесь с использованием нами файлов cookie.