Most SWA cable gland failures are not material failures. They are strip-length failures. The cable is cut to a length that looks reasonable, the armour is trimmed by eye, the cone seats on nothing in particular, and the termination holds water for one season and then does not.
This guide is about the physical installation: the three strip lengths, component order, cutting armour without nicking the bedding, seating the cone, closing the clamp, and what a finished termination should look like. Gland selection by cable dimensions is covered in the SWA selection guide.
Three strip lengths decide the job, and none of them is 150 mm
Search for how to fit an SWA gland and you will be told to strip “about 150 mm” of sheath. That number comes from domestic-size cable and one gland family. It is not a specification, and on an M63 entry it is wrong by a factor of two.
An SWA gland closes on three separate features of the cable, and each needs its own dimension:
Strip length
What it controls
How to derive it
Outer sheath removed
Where the outer seal grips and how much armour is exposed
Measured from the gland’s own drawing: distance from the outer seal seat to the cone shoulder, plus the exposed armour length
Armour exposed and trimmed
Whether the wires span the cone and reach the clamping ring
Length of the cone body plus the width of the clamping ring, plus a small allowance for the wire bend over the cone
Bedding exposed past the armour
Whether the inner seal sits on sound bedding
The gland’s inner seal length, taken from the exploded view, measured on the bedding and not on wires
Work from the drawing for the gland in your hand, not from a number in a video. Two glands of the same thread size from different makers can have different cone lengths and different seal seats.
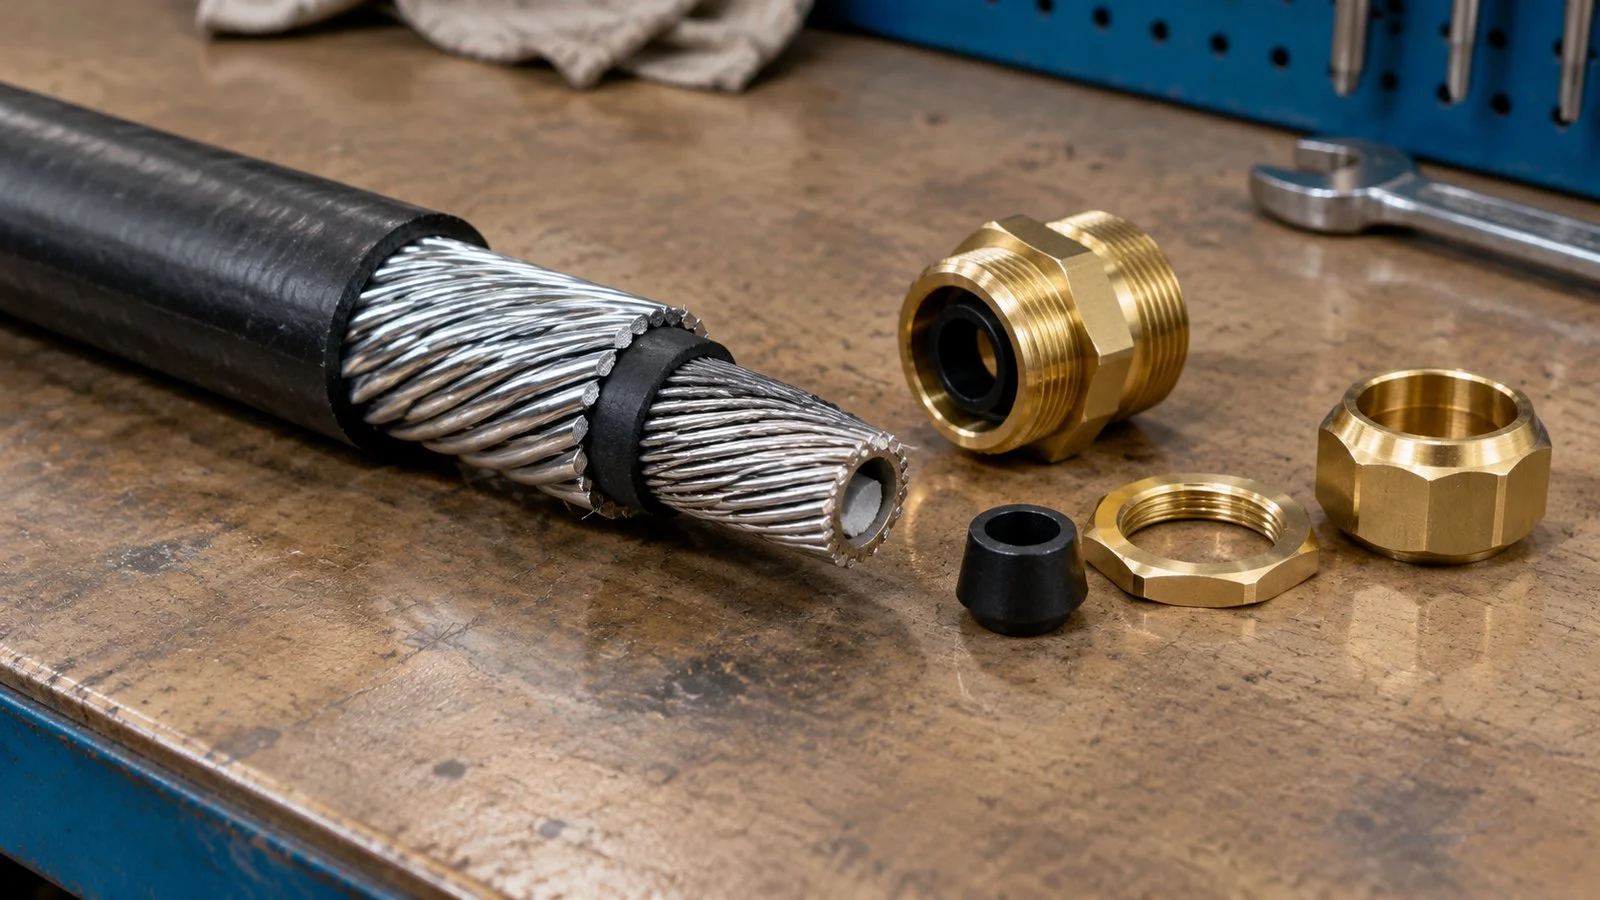
An SWA cable prepared for termination, with the outer sheath removed and the steel wire armour exposed over the bedding. The armour length, not the sheath length, is the dimension that decides whether the cone seats.
Component order before the first cut
The single most common avoidable mistake on an SWA termination is a component that should have been slid onto the cable before the armour was cut. Once the wires are splayed and the cone seated, anything still in the box means a re-strip.
Order
Componente
Note
1
Shroud
Goes on first, always, and gets forgotten most often
2
Dome nut and outer seal
Orientation matters; the seal taper faces the gland body
3
Clamping ring
Loose on the sheath, behind the cut line
—
Then cut the cable
Everything downstream of this point is irreversible
4
Armour cone
Pushed under the splayed wires, seated on the bedding
5
Earth tag and locknut
Fitted at the enclosure entry after the body is positioned
Lay the parts out in this order on the bench first. Counting against the exploded view takes twenty seconds and prevents most of what follows.
Cutting the armour without damaging the bedding
The armour is the only part of the cable that both grips and conducts. Cutting it badly creates two problems at once: a wire that does not seat, and a nick in the bedding underneath that no amount of tightening will seal.
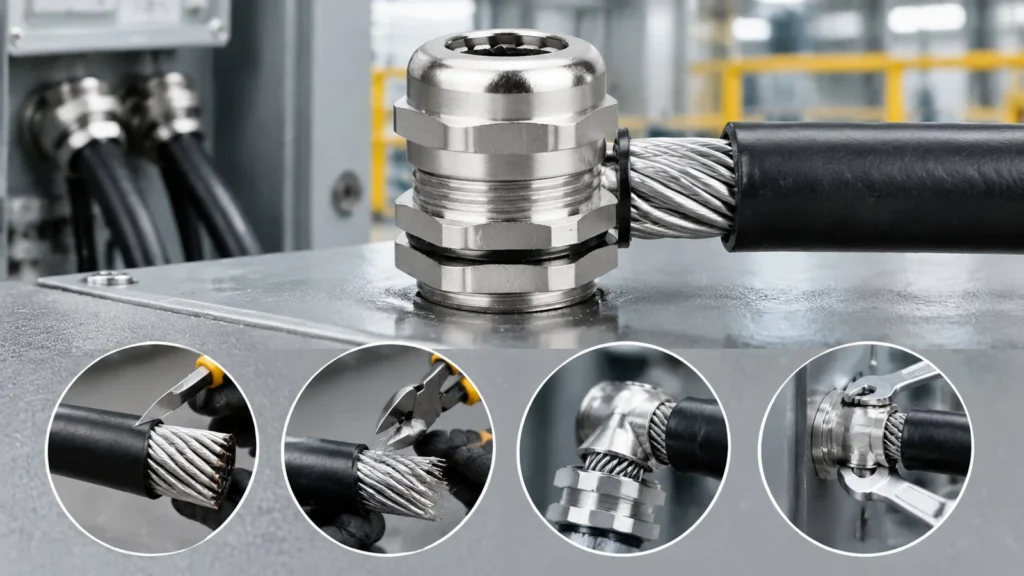
Score and snap, don’t crush. Score around the wire bundle with a hacksaw or armour cutter, then flex to break the wires. Side cutters flatten round wires, which changes how they sit on the cone.
Cut all wires to the same length. One long wire prevents the ring from seating square; one short wire reduces the grip and the earth path.
Watch the depth. Set the saw so it can only reach the wire layer. The bedding is a few tenths of a millimetre away and scores easily.
Deburr the wire ends. Sharp ends cut into the seal on assembly and into fingers on every future maintenance visit.
If the bedding is already nicked where the armour was scored, stop. The gland cannot seal a damaged bedding, and the correct action is to cut back and re-terminate. This is the reason a termination should never be measured to the last centimetre.
Seating the cone and distributing the wires
The cone converts the armour wires into a clamped, conductive ring. It only works if every wire is on it. Four wires bunched on one side and the rest loose gives a joint that passes a pull test and fails a fault-current test.
Splay the wires evenly around the circumference, at a shallow angle — enough to pass over the cone, not folded back flat.
Push the cone under the wires until it seats against the bedding, with no gap.
Bring the clamping ring forward over the wires and against the cone.
Check before closing: wires evenly spaced, none crossing, none trapped between the cone and the bedding.
Close the body by hand until the thread catches, then use two spanners.
Armour type changes the technique, not just the cone. Round steel wires splay cleanly; steel tape armour has to be formed rather than splayed; braid is worked into a trap rather than folded. A cone intended for round wire on tape armour gives a termination that looks assembled and grips nothing — the mismatch is set out in the armoured cable gland guide.
Closing the clamp: the two-spanner rule
Every SWA gland needs two spanners: one to hold the body, one to drive the clamping component. Without the counter-hold, the torque goes into the enclosure entry thread or into the locknut, and the clamp itself never tightens.
There is no universal torque figure to quote. The value depends on thread size, seal hardness, body material and where the cable sits in its range. What you can check is the outcome:
The gap between body and clamping component has closed to the designed stop, or the seal has visibly stopped moving.
The cable cannot be rotated by hand with the body held.
Armour wires do not shift when the junction is re-checked.
No wire has been cut through by the ring and no body flat is marked.
This is the same logic applied to the tightening procedure for any gland type: force is a means, the closed seal and the immovable cable are the result.
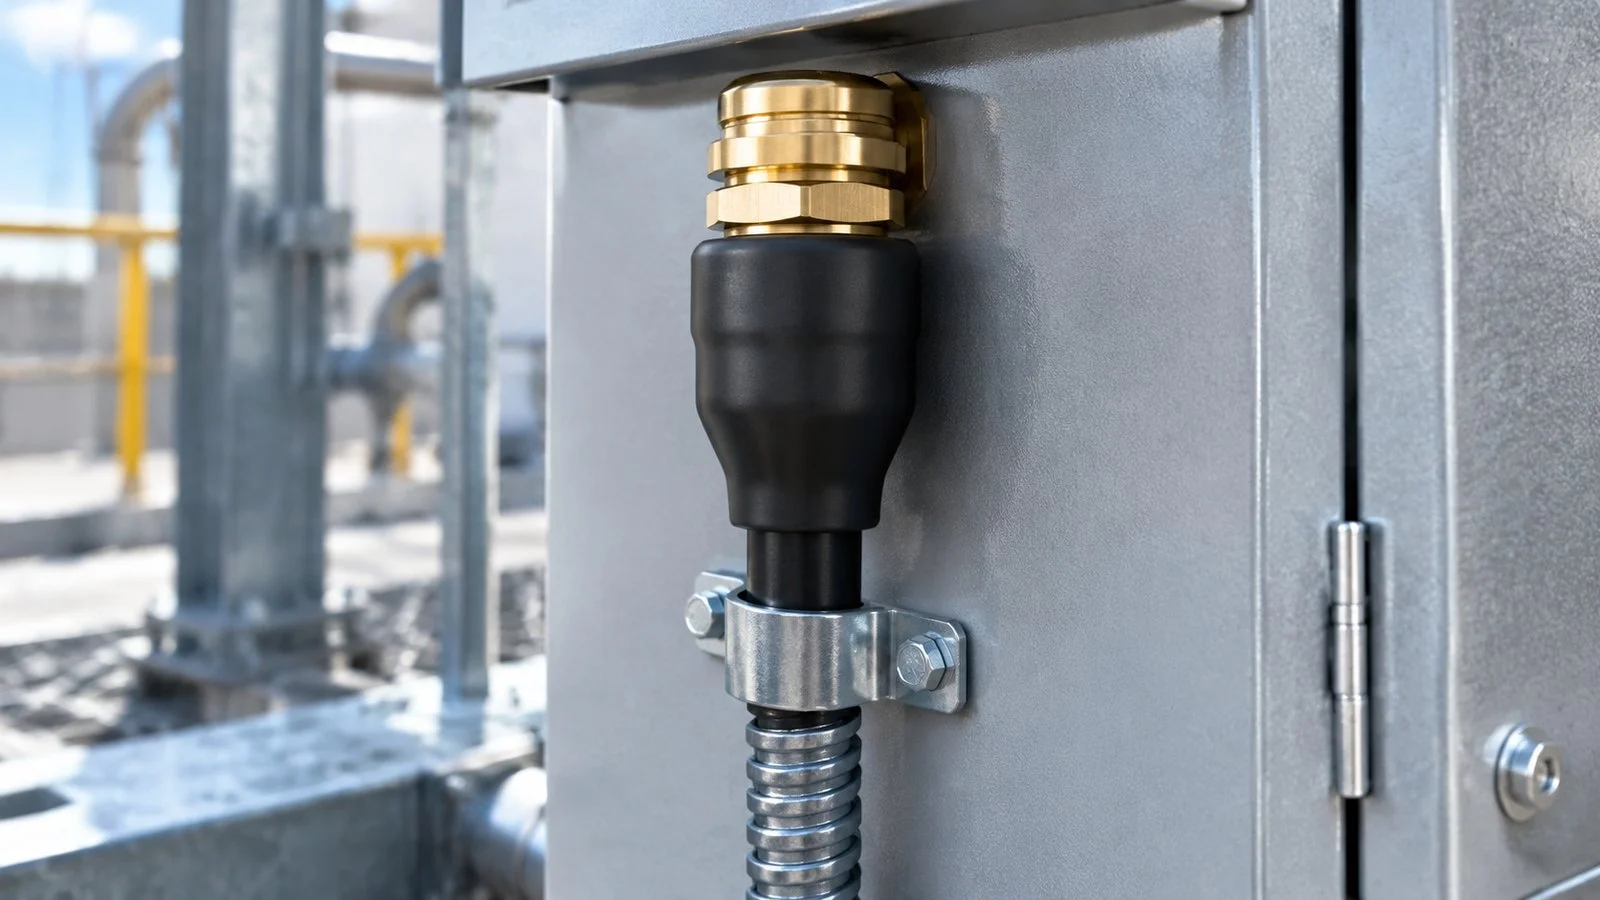
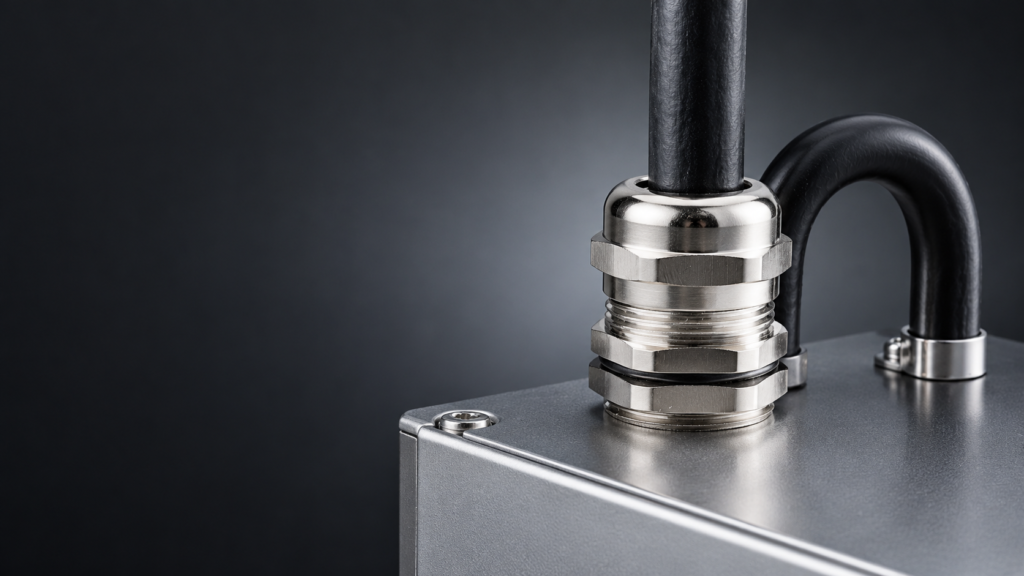
A shroud pulled down over a brass gland body on an enclosure, with the incoming run clamped just below the entry so the gland is not carrying the weight of the cable.
The inner seal goes on the bedding, not on the armour
On a gland with an inner seal, the seal must close on the extruded bedding under the armour. This is the interface that stops water travelling along the cable from the far end, and it is invisible after assembly.
Two details cause most failures. The seal is sometimes pushed on over the armour wires because it will physically fit there — it will not seal on wires, and the leak then appears at the enclosure rather than at the cable end where the water entered. Or the seal is fitted before the cone and dragged as the cone is seated.
Fit the cone first, seat it, then slide the inner seal onto clean bedding. Whether your gland has an inner seal depends on the sealing variant, covered in BW vs CW cable glands.
Entry, locknut and earth tag, in that order
The gland body goes through the entry from outside. On the inside, the earth tag goes over the thread first, then the locknut. Reversed, the tag sits between locknut and wall with no reliable contact — the most common cause of a failed armour continuity reading, covered in the armoured earthing guide.
Three related checks belong at this point rather than later:
The hole is deburred and matches the thread. Hole dimensions are in the cable gland hole size chart; a burr under the washer is a leak path.
Any sealing washer the gland specifies sits between body shoulder and enclosure face, not on the inside.
The locknut is tightened with the body counter-held, so the body does not rotate out of position.
An SWA cable is heavy, and the gland is not a cable support. A horizontal run with no cleat near the entry puts continuous bending load on the thread, the enclosure wall and the inner seal. Over a few years that shows up as a cracked entry or a loose locknut, not as an obvious break.
Support the cable independently close to the entry, and let the run fall away from a top entry so water cannot run down the sheath. The shroud is weather protection, not a seal; it does not fix a termination assembled dry.
Where the termination sees movement or repeated pull, gland grip is only part of the answer — the mechanics are in alivio de tensión.
What the finished termination should look like
A good SWA termination is checkable in about a minute if you know what to look at.
Check
Accept
Reject
Armour
All wires on the cone, evenly spaced, none cut through
Bunched wires, a missing wire, a wire trapped under the cone
Outer seal
Compressed onto the sheath, no extrusion
Gap at the seal, sheath pulled into the nut, seal visible outside the nut
Inner seal
On clean bedding, behind the cone
On armour wires, or dragged forward by the cone
Entry
Body seated against the enclosure face, locknut tight, tag under the locknut
Tag outside the locknut, body rotated off the face, burr under the washer
Shroud
Fitted over the body and against the wall
Shroud left on the bench
Support
Cleat or tray within a short distance of the entry
Cable hanging from the gland
None of these checks require the cable to be re-opened, so do them on the first termination of a shift rather than the last. If you are fitting a batch and want the gland, shroud and earth tag supplied as one kit so nothing is left on the bench, send us the cable schedule with measured sheath, bedding and armour dimensions.
Frequently asked questions
How much outer sheath should be stripped for an SWA gland?
There is no fixed figure. Derive it from the gland drawing: the distance from the outer seal seat to the cone shoulder, plus the length of armour you need to span the cone and clamping ring. Figures such as 150 mm apply to specific domestic glands and will be wrong on other sizes.
Can I fit an SWA gland without an earth tag?
Only if the gland provides armour continuity by another approved route, such as an integral earthing nut or boss. A tag left out on a gland designed for one leaves the armour unbonded, which removes the fault path the armour is there to provide.
Should the shroud be fitted before or after assembly?
Before. The shroud slides onto the cable ahead of the dome nut and cannot be fitted over an assembled gland. It is the most frequently forgotten component.
Why does my SWA gland leak at the enclosure and not at the cable?
Water usually enters at the far end of the cable and travels along the bedding. If the inner seal is missing, fitted on the armour instead of the bedding, or the bedding was nicked during stripping, the leak surfaces at the enclosure. Re-tightening the dome nut will not fix it.
How many armour wires should be under the clamping ring?
All of them. The wire count is fixed by the cable and every wire carries part of the grip and part of the earth path. A termination with missing or cut wires should be re-made, not derated.
ATEX and IECEx both point at IEC 60079, but one is mandatory EU law and the other voluntary — and their assessment routes are not equivalent. How to read the certificate number before you order.
A control panel cable gland is usually chosen by hole size and paid for thirty centimetres later at the terminal block. Entry height, bend radius, door routing, shield bonding and the marking that makes a panel traceable.
Strain relief keeps load off the terminals, not off the cable. The three mechanisms, what determines pull-out resistance, and when a gland is not enough.
Utilizamos cookies para mejorar su experiencia de navegación, publicar anuncios o contenidos personalizados y analizar nuestro tráfico. Al hacer clic en "Aceptar todo", aceptas el uso que hacemos de las cookies.