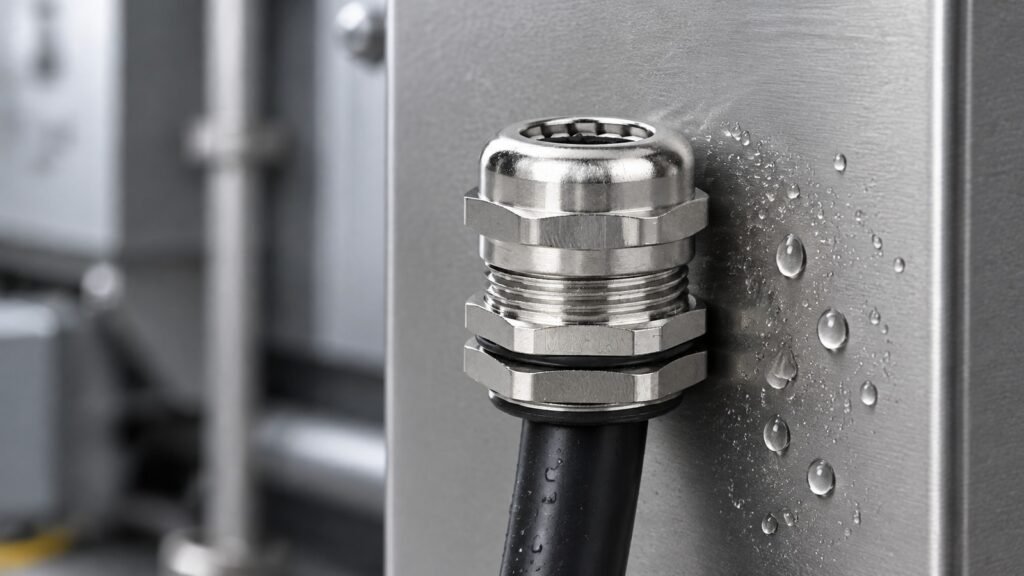
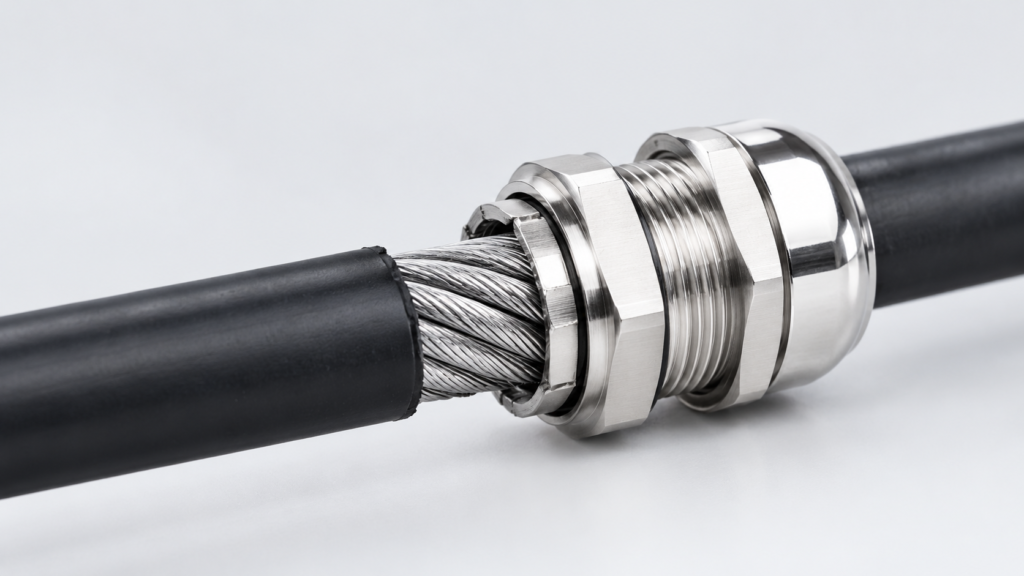
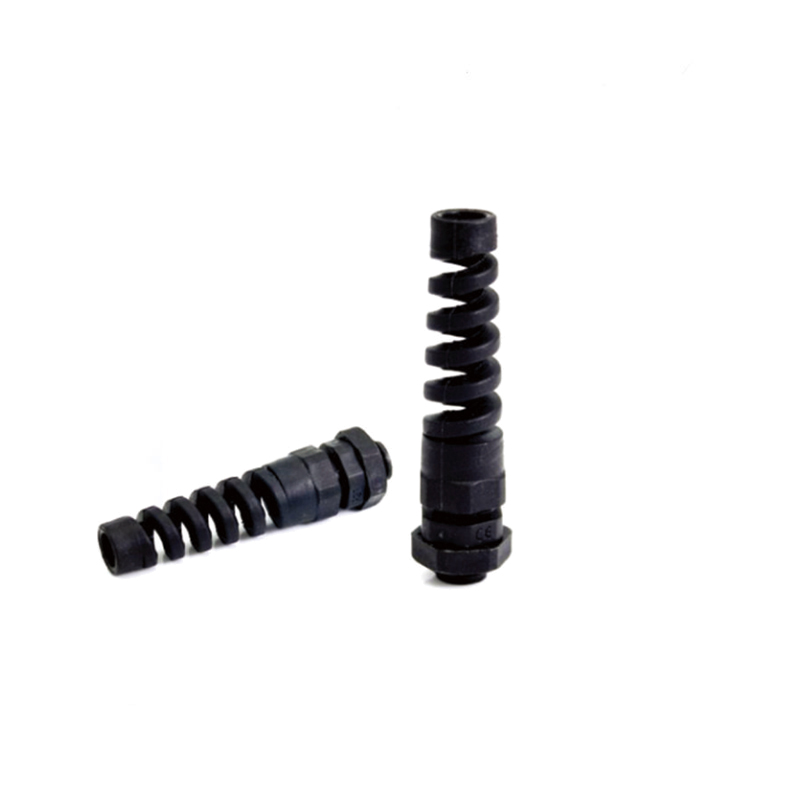
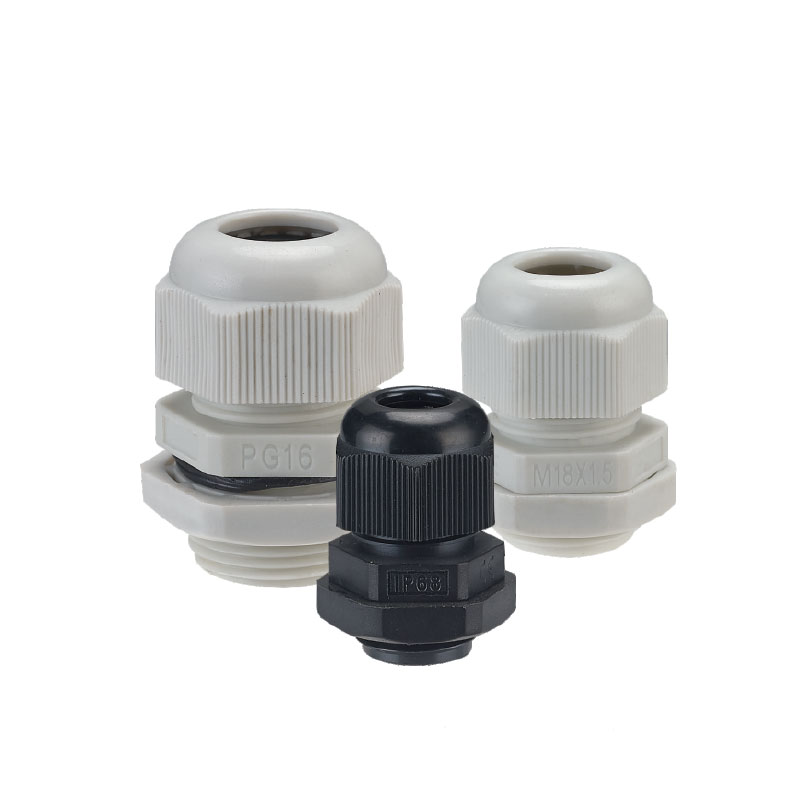
When water is found inside an enclosure, the gland is usually the first component blamed and the first one replaced. That reflex is understandable — the gland is the only place where a cable crosses a wall — but it is also why the same enclosure leaks again three months later. A leaking gland is rarely a defective gland. It is a gland that was asked to seal a cable it did not match, installed in a geometry that delivers water straight to the seal, or tightened by feel on a cable sitting at the edge of its clamping range.
Diagnosis therefore starts before any part is removed. Three observations decide most of the work: where the water appears, when it appears, and what the cable and enclosure look like at the entry. Everything below is built on those three.
Read the Water Before You Touch the Gland
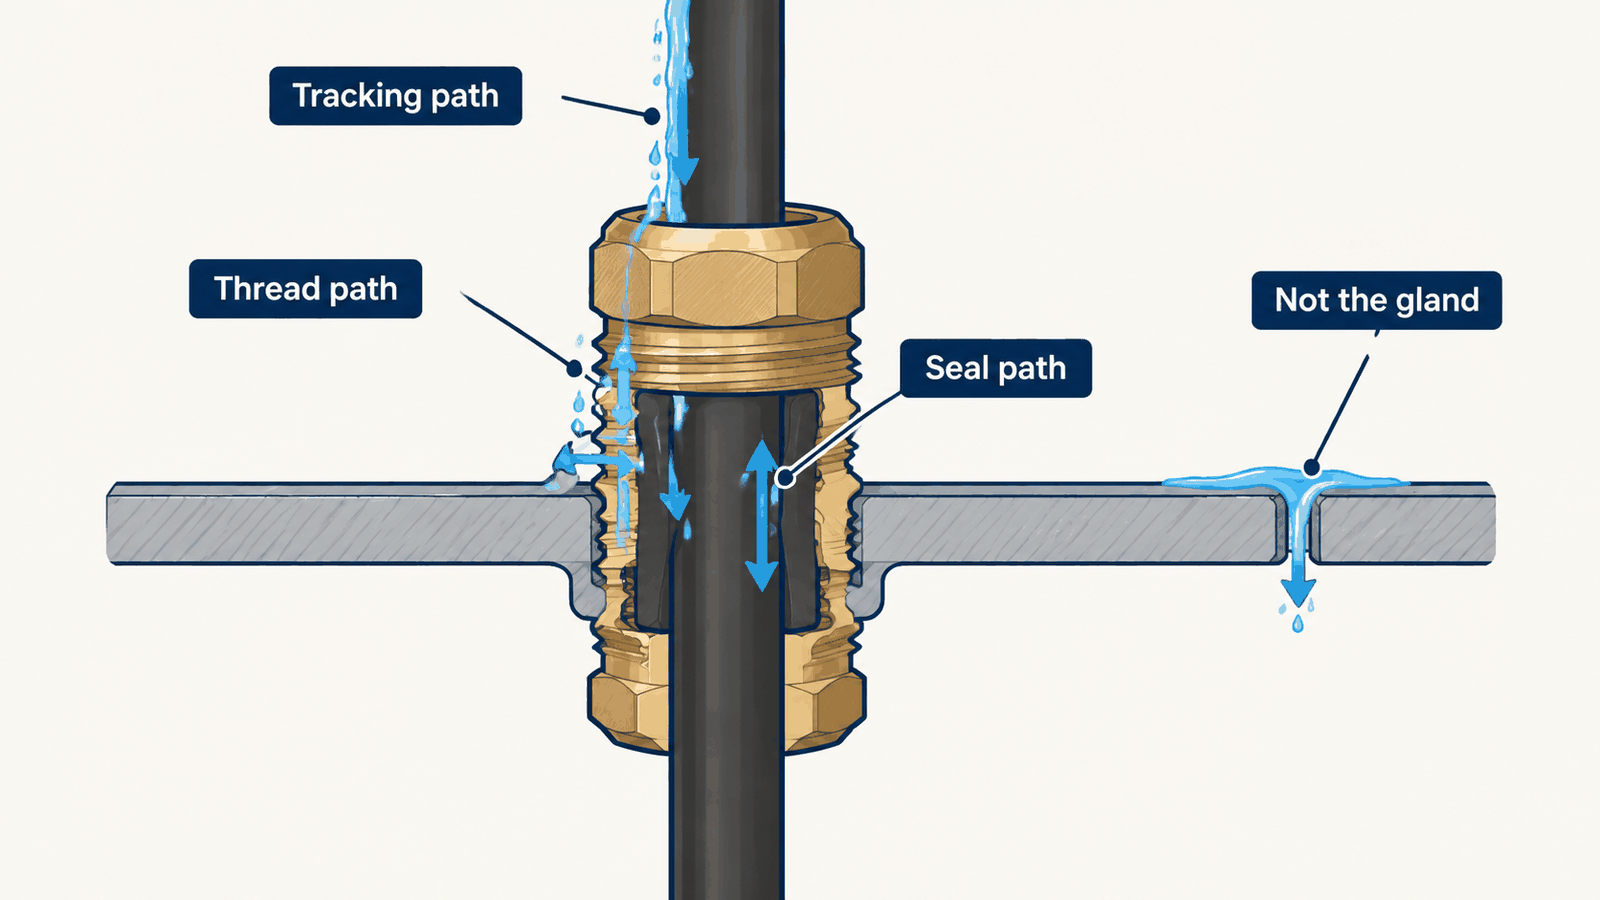
Water leaves a trail. By the time someone opens the door and finds a puddle on the bottom plate, the route it took is still readable on metal and on cable sheath, and it is almost always one of four.
Where the water comes from
What you see
First thing to check
Tracking down the outside of the sheath
Damp sheath above the gland, drops forming at the dome nut, wall face dry
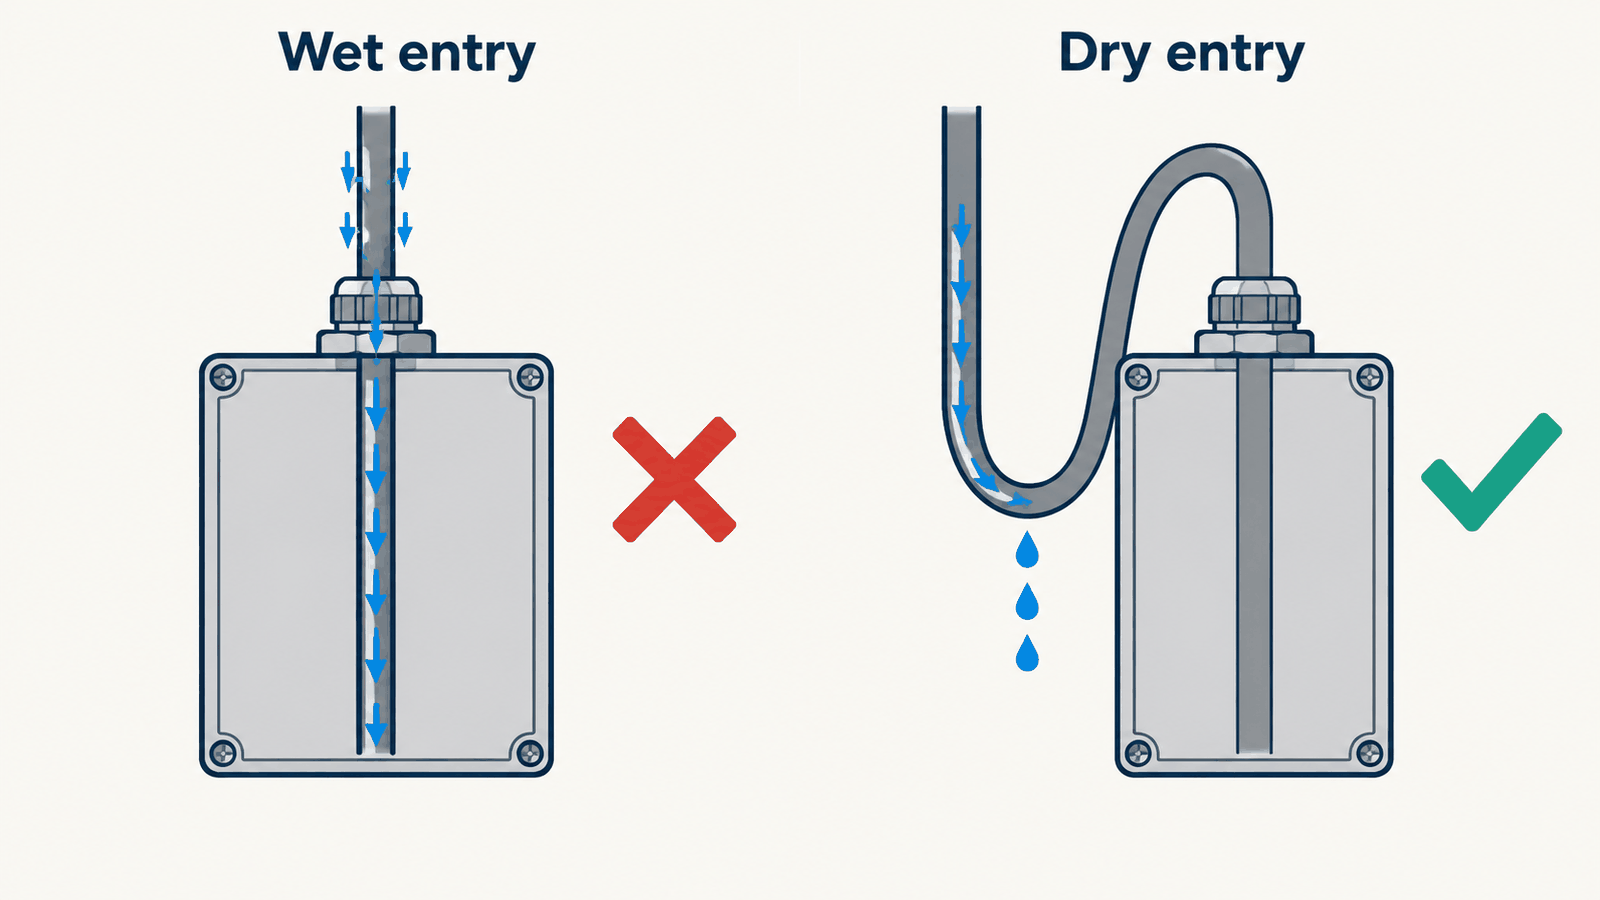
Cable arriving from above with no drip loop
Through the thread and the enclosure wall
Water in the thread, rust or white staining at the thread root, wet paint around the hole
Sealing washer missing, damaged, or never fitted on a through-hole
Between the seal insert and the sheath
Water inside the gland body, thread dry, sheath clean and possibly polished
Seal size against the measured sheath diameter, or a sheath that is out of round
Not through the gland at all
Water on the top face or in a corner far from any entry, corrosion trails leading elsewhere
Door gasket, breather, unsealed knockout, or condensation
Four routes, three of which are inside the gland. The fourth is the one that sends crews back to the same enclosure twice.
The direction matters more than the quantity. A gland leaking through the thread is an assembly defect and is fixed in minutes. A gland leaking past the insert is a sizing defect, and replacing the seal without changing the size produces the same result. Water that arrived through the door gasket is not a gland problem at all, and no amount of gland work will stop it.
Condensation Is Not a Leak — and It Is Misdiagnosed Constantly
An enclosure that breathes draws moist air in at night and condenses it on cold metal at dawn. The result is water on the bottom plate, corrosion on terminals, and a maintenance ticket that names the lowest gland on the plate. Two checks separate condensation from ingress.
The first is distribution. Ingress enters at one entry and wets the area around it, usually one side or one corner. Condensation appears on cold surfaces generally — the underside of the lid, the top of busbars, the inside of the door — and is heaviest after a cold night following a warm humid day, not after rain.
The second is the cable itself. Strip back a short section of sheath inside the enclosure: if water is present under the sheath, the cable has been wetted somewhere upstream and the gland may be innocent. If the sheath interior is dry and only the enclosure surfaces are wet, the entry is probably sound and the problem is ventilation. A pressure-compensating breather or a drain valve solves condensation; a new gland does not. Sites that keep replacing glands for condensation usually have a documented history of repeat visits and no improvement.
Six Breakpoints Inside a Gland
A gland is a short stack of parts with six interfaces, and water only has to find one. Naming the interfaces makes the inspection a checklist instead of a guess.
Breakpoint
What fails there
Signature on site
Thread to enclosure
Washer missing, split, hardened, or the wrong type for a curved surface
Water in the thread root, wet paint around the hole, dry gland body
Seal insert to sheath
Insert too large for the sheath, sheath below the stated range, split from over-tightening
Water inside the body, thread dry, sheath polished where it passed the seal
Insert to body
Insert not fully seated, cross-threaded, or the wrong insert for the body
Leak appears only under spray or pressure, never in still rain
Dome nut or clamping nut
Under-tightened, or loosened by vibration and thermal cycling
Cable moves when pulled; nut turns by hand; damp film rather than drops
Body at the thread root
Cracked by over-torque into a thin wall or by a badly cut hole
Hairline crack, no leak at hand pressure, leaks under thermal expansion
The cable itself
Sheath damaged under or behind the gland, water travelling inside the cable
Water found in a box with no cable entering from above it
The sixth breakpoint is the one that wastes the most time. Water entering a damaged sheath twenty metres away will emerge at a gland that is perfectly installed, and replacing that gland repeatedly will not change anything. If two enclosures on the same cable run are wet and nothing else is, suspect the cable before the entries.
From Symptom to Cause: A Working Fault Tree
Most field reports arrive as a symptom. The table below maps the common ones to the interface that is actually at fault, so the first visit can carry the right parts.
Symptom as reported
Most likely cause
Action
Leaks only in rain, cable arrives from above
Tracking along the sheath
Form a drip loop below the entry, or re-route; a lower gland will not help
Leaks only during washdown
Spray reaching the insert from the side, or an IP rating below the cleaning method
Check insert seating; compare the Grado de protección IP against the actual jet pressure used
One gland wet on a plate of ten identical ones
That cable’s sheath is at or beyond the range limit, or is scored
Measure the sheath; change cable or step to the next size up
All glands dry outside, water inside
Condensation, door gasket, or an unsealed knockout
Fit a breather or drain; audit every opening, not just the entries
Dry at commissioning, wet after two months
Compression set in the elastomer, or thermal cycling loosened the nut
Re-torque to the datasheet value; verify the seal compound suits the temperature
Water plus rust or white deposits
Long-standing thread leak that was never diagnosed
Replace the washer, clean the thread, inspect the plating for corrosion
Why the Same Gland Leaks on One Enclosure and Not Another
Identical glands on identical plates behave differently because four variables are not identical. The cable is the first: two cables of the same nominal cross-section can differ by a millimetre or more in sheath diameter between manufacturers, and one may sit inside the range while the other is outside it.
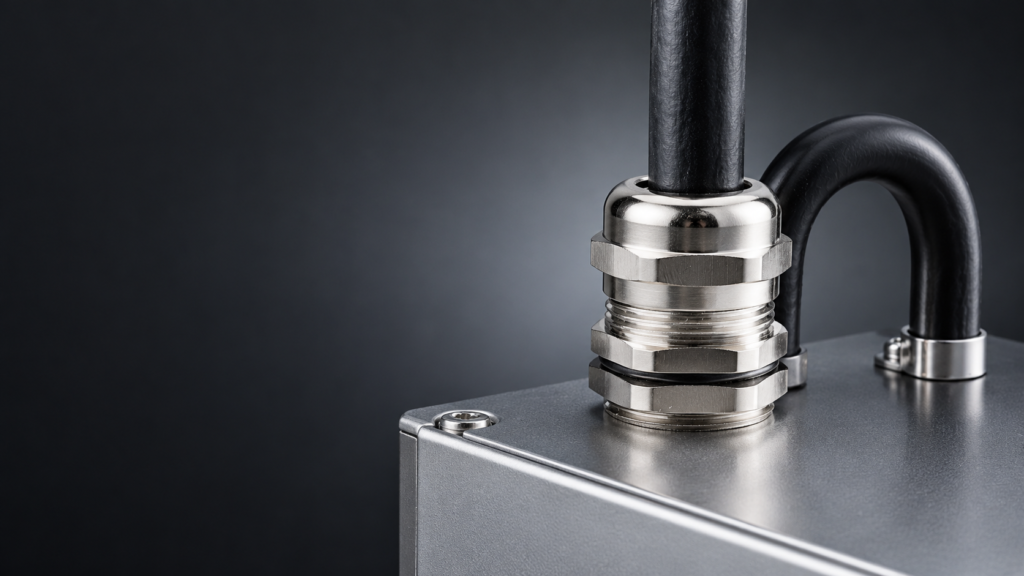
The installation geometry is the second. A cable entering a top plate from above delivers water directly to the seal; the same cable entering from below sheds water away from it. A top entry without a drip loop is the single most common preventable leak on outdoor equipment, and it is invisible in a photograph taken from the front.
The loop works because it sits outside the box. A loop formed inside the enclosure collects the same water and delivers it to the terminals.
The enclosure is the third. A thin sheet-metal wall distorts under torque and opens a gap at the washer. A moulded plastic wall can crack at the thread root. A cast enclosure with a machined face is far more forgiving, which is why the same gland has a different reputation on different products.
The fourth is the installer’s hand. Two people tightening the same gland produce different compression, and only one of them produces a seal that survives a year. This is the reason torque is a specification rather than a preference, and the reason a gland that “worked fine last time” is not evidence of anything.
Four Fixes That Usually Make It Worse
Because a leak looks urgent, it attracts improvised repairs. These four are common and all of them either hide the defect or create a new one.
Attempted fix
Why it fails
Tightening harder
Extrudes or splits the insert and can open a gap instead of closing it; it also destroys the evidence you need for diagnosis
PTFE tape on a straight thread
On a metric gland the seal is the face washer, not the thread; tape does nothing at the face and lubricates the thread so the joint is over-tightened without feedback
Silicone sealant around the gland
Traps water against the enclosure, conceals the fault, blocks inspection, and is not part of any tested IP rating
Adding a second washer
Increases unsupported length and the chance of a gap; it does not repair a damaged face or a distorted wall
There is a fifth, subtler repeat: replacing the gland with an identical one. If the cause was cable diameter, hole quality, or geometry, the replacement inherits the cause and the leak returns on the same schedule.
When the Gland Is Not the Problem
Four situations look like gland leaks and are not. A sheath that is scored or cut behind the gland passes water along the cable, and the gland seals correctly around a damaged surface. A hole that is oversized leaves the washer bridging air, so no torque will seal it — this is why hole diameter is a specification, not an approximation. A cable hanging under its own weight pulls sideways on the insert and opens the top of the seal, which is a alivio de tensión failure rather than a sealing one.
The fourth is the enclosure itself: a distorted door, a gasket flattened by years of compression, a missing knockout plug, or a breather installed without a filter. Any of these puts water inside a box whose entries are perfect, and the entries will be blamed because they are the only parts anyone recognises.
How to Prove the Repair Worked
A repair that is not verified is a guess with a work order attached. Three checks, in order, are enough for most industrial sites.
First, confirm the geometry, not just the part. The cable must be central in the insert, the drip loop must exist if the cable comes from above, and the nut must be tight to the datasheet value rather than to the previous mechanic’s habit. Second, verify by the method that matches the failure: a hose test for rain tracking, a low-pressure immersion or spray test for an IP claim, and a plain 24-hour observation with the enclosure closed for anything on a top plate.
Third, record it. Note the sheath diameter measured, the gland size fitted, the torque applied, and the date. Without that record, the next leak on the same plate starts the diagnosis from zero, and the third repeat visit is what turns a small seal failure into a supplier dispute.
Questions We Get From Maintenance Teams
Can a cable gland leak even when it is correctly installed?
Yes, in three ways: the sheath can be damaged upstream of the gland, the elastomer can harden and take a permanent set after years at temperature, and the enclosure can move enough under load to open the thread interface. All three are environment or cable problems rather than installation errors.
Which compound hardens and how fast is a material question rather than an installation one — EPDM, NBR and silicone behave differently under the same service conditions.
Should I replace the gland or just the seal?
Replace the seal if the body, thread and washer are intact and the cable diameter is inside the stated range. Replace the whole gland if the thread is corroded, the body is cracked at the root, or the insert has been squeezed out of shape by over-tightening.
Why does the leak appear only in one season?
Because the two mechanisms behave differently. Tracking needs liquid water on the sheath and is worst in the wet season; compression set and thermal movement show up when the temperature swings hardest. Seasonal leaks are a strong hint that geometry or elastomer choice is the cause, not the assembly.
Is a higher IP rating the answer to a persistent leak?
Only if the current rating is below what the site actually demands. An IP68 gland installed with the wrong insert size, or under a cable that tracks water from above, will leak exactly like an IP65 one. Fix the geometry first, then raise the rating if the environment still justifies it.
How do I stop water tracking down the cable?
Give it somewhere to go before the gland: a drip loop below the entry, a downward entry where the layout allows, or a cable route that does not pass above the enclosure. Glands are designed to seal at the interface, not to stop water flowing along a surface.
Descubra los prensaestopas partidos estancos con clasificación IP66 IP68 opciones de nylon latón acero inoxidable ideales para instalaciones de cables preterminados y reequipamiento.
An armoured cable gland must grip the armour, bond it to earth and seal the sheath. This guide covers armour types, BW / CW / E1W sealing stages, and how two cable diameters set the gland size.
Strain relief keeps load off the terminals, not off the cable. The three mechanisms, what determines pull-out resistance, and when a gland is not enough.
Utilizamos cookies para mejorar su experiencia de navegación, publicar anuncios o contenidos personalizados y analizar nuestro tráfico. Al hacer clic en "Aceptar todo", aceptas el uso que hacemos de las cookies.