The Gland Is the Only Rated Part in an Unrated Hole
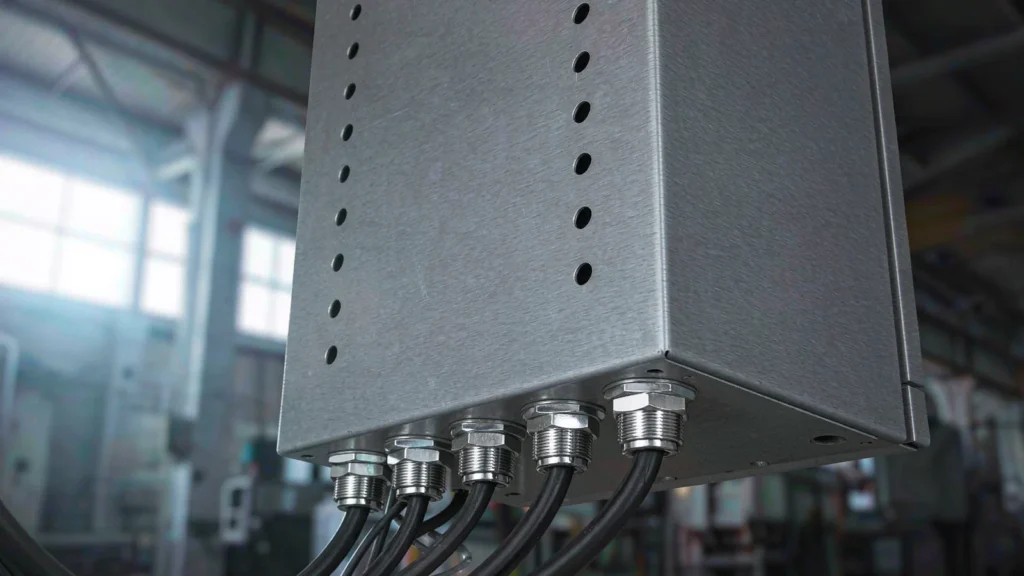
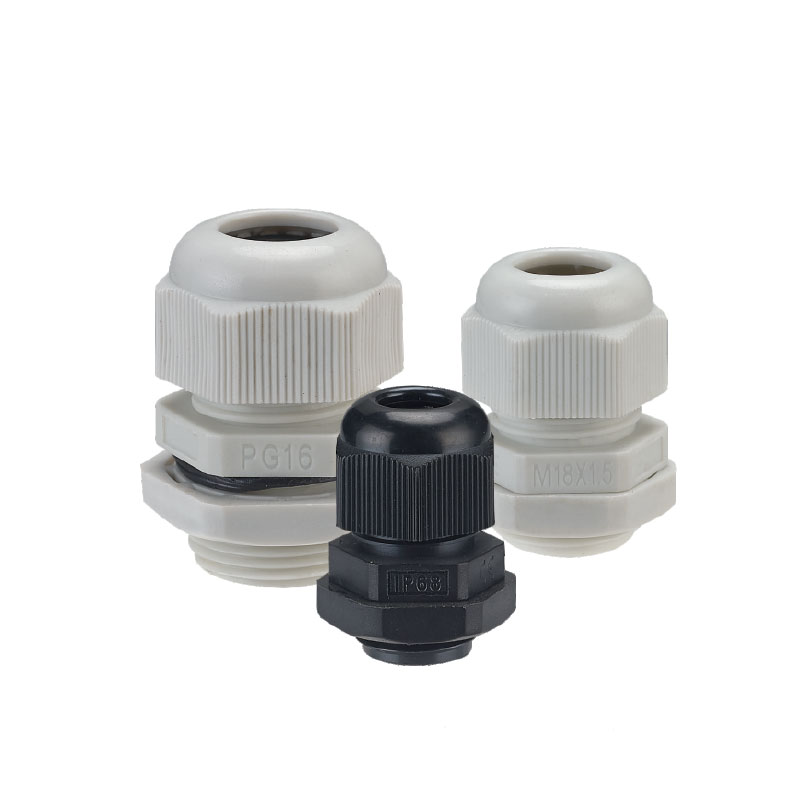
An electrical enclosure arrives with a protection rating that was established on a test piece. Every hole drilled into it after that is a modification, and the gland that fills the hole restores the rating only if the hole, the face and the fixing are all correct. This is the part of enclosure work that gets the least attention and causes the most failures, because a gland is bought as a cable accessory and installed as a structural interface.
Most leak and ingress complaints on electrical enclosures trace back to that interface rather than to the gland. The gland is usually the right part. It has been fitted into a wall that is too thin, a face that is not flat, a thread too short to reach the locknut, or a knockout that left a step under the washer.
Wall Material Decides the Fixing
The same gland fitted to four different walls gives four different results. What changes is not the seal at the cable — that part is identical — but the behaviour of the wall around the thread.
Enclosure wall
Behaviour under the gland
Fixing approach
Sheet steel, thin
Deflects under torque; the face can bow away from the washer
Reinforce or use a locknut and a stiff washer; keep torque modest
Moulded polycarbonate or ABS
Wall pulls into a cone; cracks at the thread root if over-tightened
Wide washer face; support the inside; avoid nut-and-gland squeeze
GRP or SMC
Hard and brittle; machined face is flat but chips at the edge
Drill, do not punch; deburr; use a flat gasket face
Cast aluminium
Thick, rigid, machined face; takes high torque
Thread directly; washer optional if the face is machined
الفولاذ المقاوم للصدأ
Rigid, but galls when a stainless locknut is used dry
Lubricate or use a dissimilar nut; do not over-tighten to stop galling
Stainless deserves a note. A stainless gland into a stainless wall with a stainless locknut is a galling risk, and the usual outcome is a joint tightened far past spec because it felt loose. It then either cracks the weld or work-hardens and cannot be dismantled. A nickel-plated brass locknut on a stainless thread is common practice for this reason.
Thread Length, Wall Thickness and the Locknut Question
Gland thread length has to cover the wall plus the washer plus the locknut, plus any gland plate. Two failures follow from ignoring it. If the thread is too short, the locknut cannot engage fully and the gland is held by a few turns — enough to feel tight and not enough to stay tight under vibration. If the thread is too long, the gland protrudes into the enclosure and fouls terminals, DIN rail or the door swing.
The locknut question is often answered by habit. Three conditions require one, and one condition removes it.
Condition at the wall
صامولة القفل
Wall thin enough to distort under torque
Required — spreads the load and stiffens the joint
No access to the inside face
Required — this is the only way to clamp the gland
Conduit or heavy cable that could rotate the gland
Required — locks the body against turning
Thick cast face with a machined thread
Not required — the thread is the fixing
What a locknut is never a substitute for is a flat sealing face: adding a nut does not flatten a bowed wall. Long-thread variants exist for thick walls or gland plates, and specifying one is cheaper than fitting a spacer.
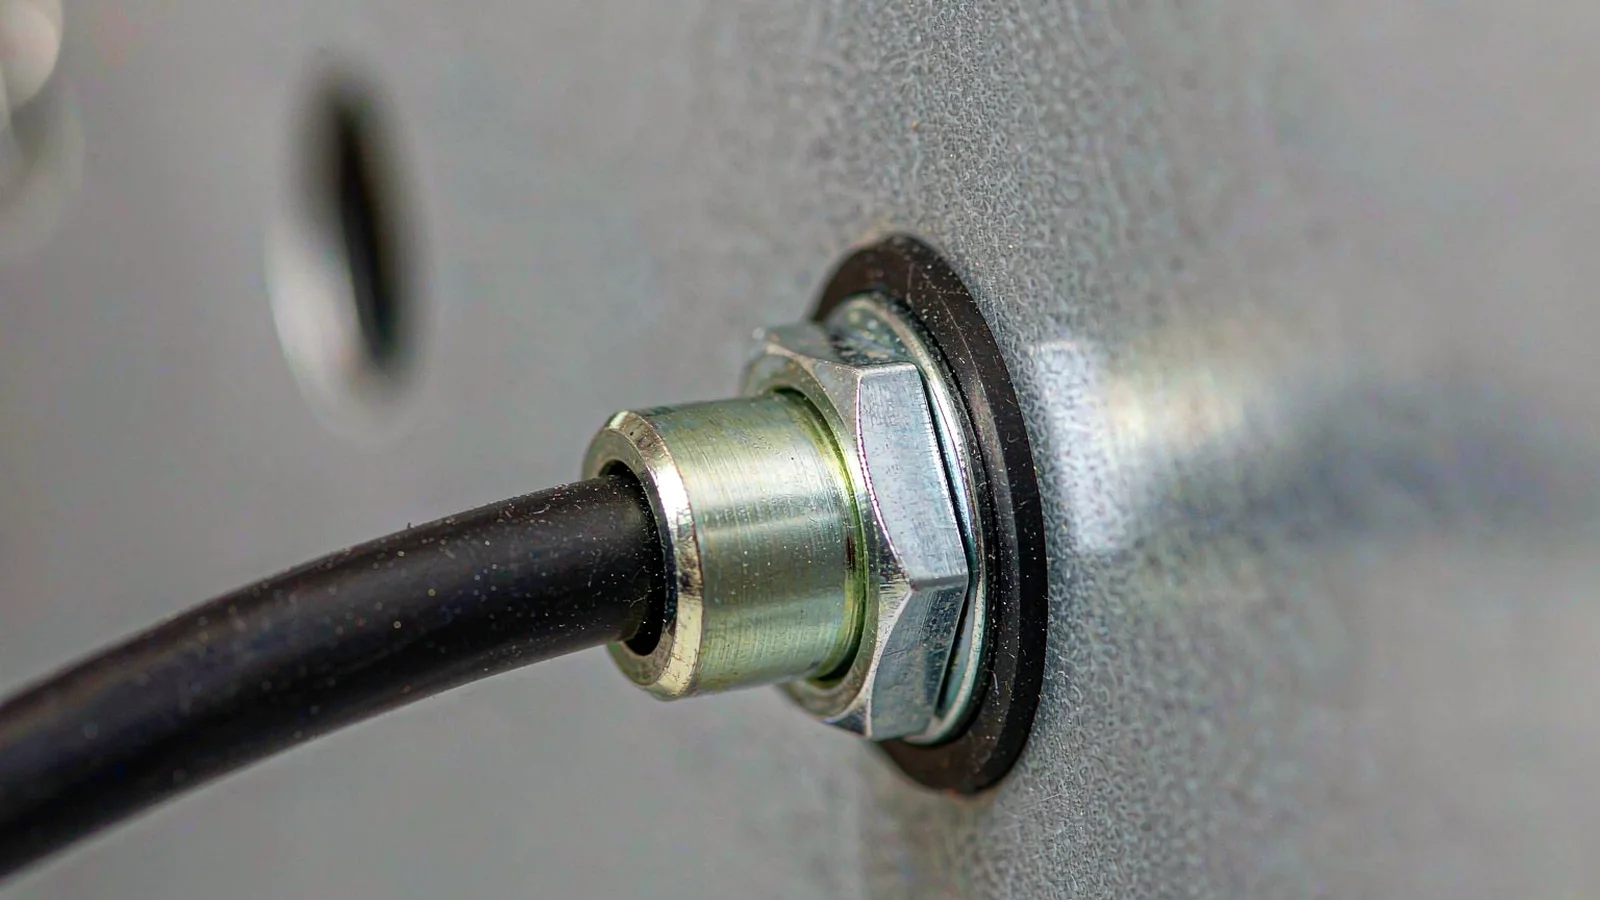
The washer seals on the area it actually contacts. A thread too short to cover wall, washer and locknut still feels tight with two turns engaged.
Knockouts, Punches and the Sealing Face
An enclosure knockout is convenient and is not a hole. The material is removed in a step, leaving a rim that sits proud of the surrounding face, and a sealing washer placed over that rim contacts the high point and bridges the rest. The result is a joint that passes a visual inspection and fails a hose test.
Three remedies follow. Where a knockout is used, check the rim with a straight edge and file it flat if it stands proud. Where the hole is drilled, use a punch or a hole saw with a pilot and deburr both sides — the inside burr matters as much as the outside one, because the inside face is what the locknut bears on. Where the enclosure is brittle GRP or a moulding, drill rather than punch, since a punch can star the gelcoat.
Hole size is its own subject: an oversized hole cannot be sealed by any washer, and an undersized one cross-threads the body. The hole size chart gives the drilling dimension for each thread, including the tolerance that separates a thread that fits from one that leaks.
What the Enclosure’s IP Rating Actually Covers
An IP rating on an enclosure applies to the enclosure as tested, with its door closed and its entries either fitted with the specified accessories or not present. Fitting a gland transfers a rating only in the sense that the gland has its own rating and the joint between them has to be sound. The two ratings do not multiply, and they do not compensate for each other.
This has two consequences. An IP68 gland in an IP54 enclosure produces an IP54 enclosure with a very good entry, and if the door gasket is the weak point the entry work has bought nothing. And the weakest entry sets the level: one open knockout defeats every correctly fitted gland on the box.
The door is where most enclosure ingress actually happens. A flattened gasket, a warped door, a missing breather filter or a hinge that no longer pulls the door square will all put water inside a box with perfect entries — and the gland gets blamed because it is the part someone can see water arriving at.
Gland Plates and Dense Entry Groups
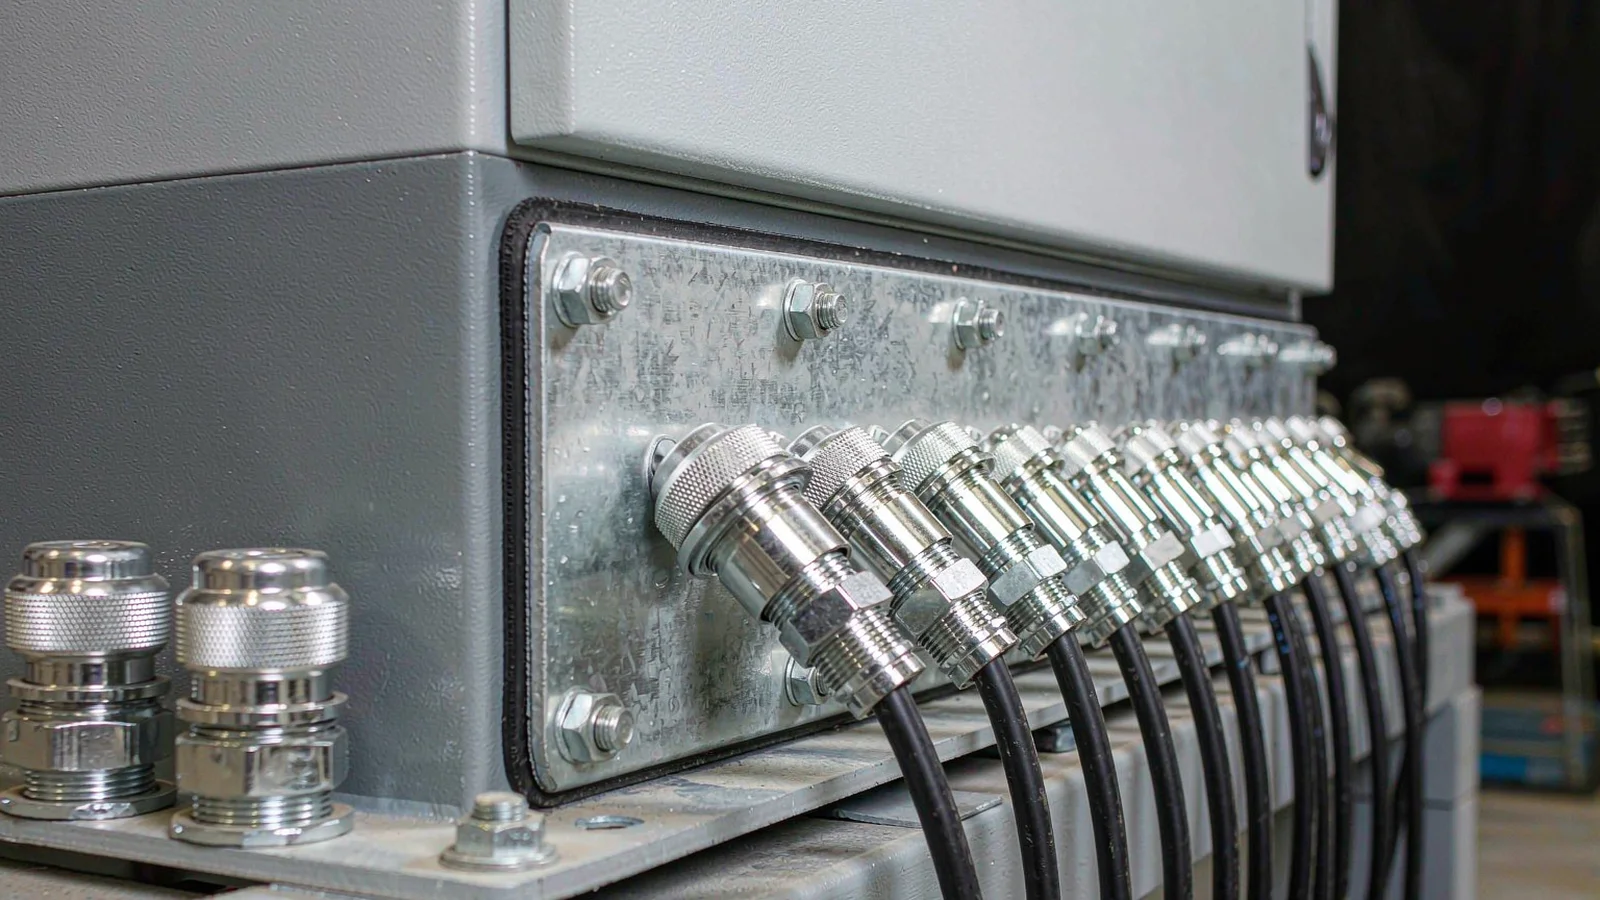
Where several cables enter close together, a gland plate is usually better than holes in the enclosure wall. The plate is a removable panel, typically thicker than the wall, that carries all the entries and bolts to a flange on the enclosure. It solves four problems at once: it provides a flat, rigid sealing face; it can be machined on a bench; it allows the whole cable group to be disconnected and re-entered; and it protects the enclosure’s own coating.
The cost is an extra gasket line between plate and enclosure, which is itself a leak path. A plate bolted to a painted flange, with no gasket and no bare metal contact, is both a leak path and a broken earth path — two faults in one joint.
A gland plate gives one flat, rigid sealing face and a bench-drilled hole pattern — at the cost of a gasket line that is itself a leak path.
Earthing Through the Wall
A metal gland in a metal enclosure looks like an earth path and often is not. Paint, powder coat, anodising, a gasket and thread sealant all sit between the gland body and the enclosure metal, and any one of them can raise the resistance of the joint above what a protective conductor needs.
Three cases need explicit attention: an enclosure with a coated flange, an enclosure where the gland is fitted through a plastic gland plate, and an installation where the gland will be dismantled for maintenance. In each case the earth path must be independent of the thread — an earth tag under the gland, a bonding conductor to the enclosure stud, or both. The earthing and bonding guide covers the measurement side of this in detail, and it is worth reading before an enclosure is signed off rather than after an inspection finding.
Top Entry, Bottom Entry and Condensation
Entry orientation decides which failures are possible. A bottom entry sheds water away from the seal and is the default outdoors. A top entry delivers water directly to the dome nut, and if the cable arrives from above with no drip loop, the seal is stopping a stream rather than a splash.
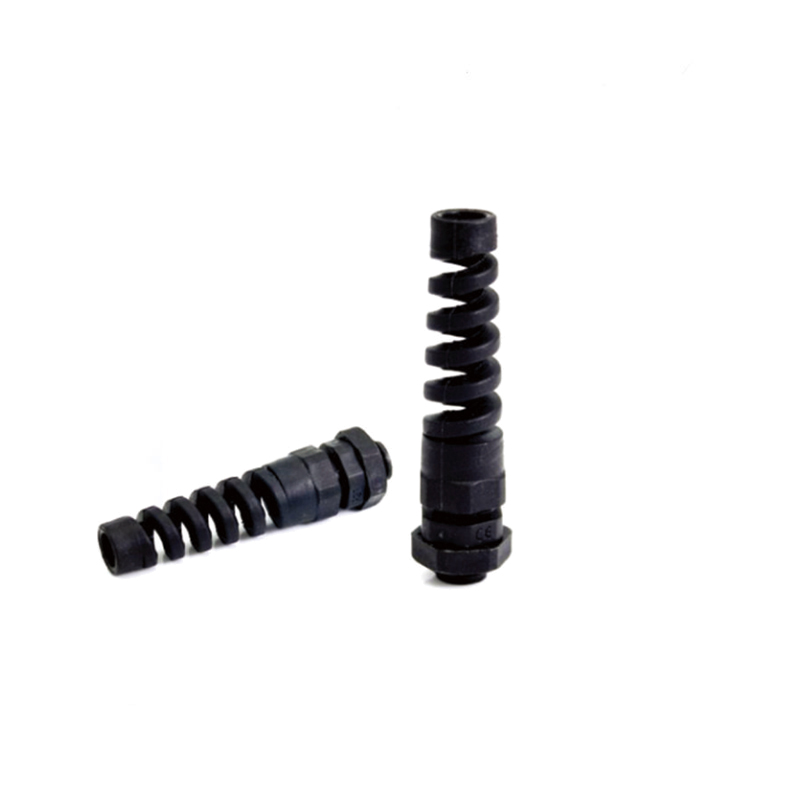
The better answer is often a different route rather than a different gland: bring the cable up past the enclosure and enter from below, or add a drip loop outside the box. Where a top entry is unavoidable, a shroud over the gland extends life considerably, and a longer body keeps the seal further from standing water.
Condensation is the other half of this subject and is often misdiagnosed as a leak. A sealed enclosure that cycles in temperature draws moist air in and condenses it on cold metal, and the water appears at the bottom of the box near the lowest gland. A pressure-compensating breather or a drain addresses the cause; a new gland does not. The diagnostic sequence is in why cable glands leak, which starts from the direction the water arrived.
Retrofitting an Entry into a Box in Service
Most entries are added after the enclosure is built, often after it is energised. Four rules keep a retrofit from becoming a fault.
Rule
السبب
Isolate before drilling, and mask the interior
Swarf is conductive, gets into terminals and is very hard to remove
Drill from outside with a pilot, then deburr both faces
Burrs on the inside face stop the locknut seating flat
Choose a flat area, clear of ribs, corners and the door swing
A washer cannot seal on a curved or interrupted face
Fit a gland sized to the cable, not to the hole you have
Adapting a gland to an existing hole is how leaks start
Where the existing hole is already the wrong size, a reducing or enlarging washer is legitimate and a sealant-filled joint is not. If neither is possible, the correct fix is a new hole in a sound position and a blind plug in the old one — cheaper than the rework that follows a sealant repair.
Questions From Panel Builders
Does a metal gland earth the enclosure?
Only if the thread makes bare metal contact and stays that way. Coating, gaskets and sealant break the path, and a dismantled joint breaks it again. Use a tag or a conductor where the path has to be guaranteed.
Do I need a locknut on every gland?
No. It is needed on thin walls, where the gland must be locked against rotation, or where access from inside is impossible. On a thick machined face it adds nothing.
Can I fit an IP68 gland to an IP54 enclosure?
You can, and it will not raise the enclosure’s rating. The enclosure rating is set by its weakest element, which is usually the door seal or an unfitted knockout.
Why does water appear at the bottom of a sealed box?
Usually condensation rather than ingress. Check the distribution of the water and whether the cable sheath is wet internally before replacing any gland.
What is the right torque for a gland in a plastic wall?
Whichever value the wall can take without distorting, which is usually below the gland’s own maximum. Tighten until the washer is in full contact; more torque narrows the contact ring instead of widening it.
Send the enclosure drawing with wall material and thickness plus the cable list, and we will mark which entries need a locknut, which need a longer thread, and where a gland plate beats nine separate holes. The nickel-plated brass range covers the general industrial case, and the M20 standard series is where most enclosure schedules start.
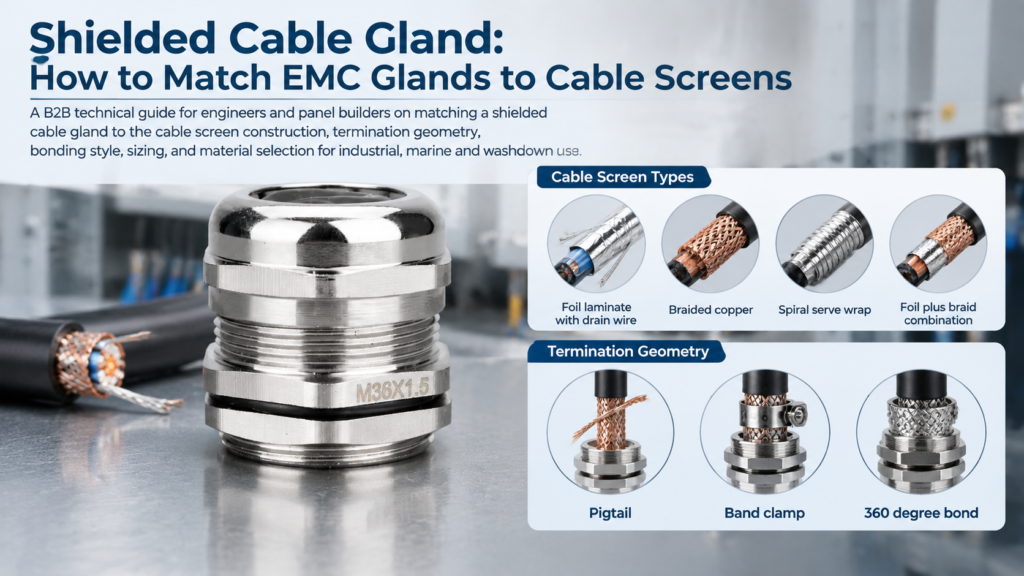
Match an EMC cable gland to the cable screen: foil, braid, spiral and combination constructions, termination geometry, bonding rules and sizing on jacket OD.
هل عانيت من قبل في اختيار غدة الكابل المناسبة؟ لا تقلق - لست وحدك! قد تكون غدة الكابلات صغيرة، ولكنها تلعب دوراً رئيسياً في ضمان سلامة واستقرار أنظمتك الكهربائية. سواءً كنت تعمل في مجال الأتمتة الصناعية أو البتروكيماويات أو الهندسة البحرية، فإن اختيار غدة الكابلات الخاطئة يمكن أن يؤدي إلى تسرب المياه أو قصر [...].
يعد اختيار غدة الكابلات المقاومة للماء المناسبة أمرًا بالغ الأهمية لضمان سلامة التركيبات الكهربائية والصناعية وطول عمرها الافتراضي. تحمي هذه المكونات الصغيرة ولكن القوية الكابلات من الماء والغبار والأضرار البيئية، مما يجعلها لا غنى عنها في العديد من القطاعات - من الاتصالات السلكية واللاسلكية إلى الصناعات البحرية والصناعات الثقيلة. ولكن كيف يمكنك تحديد مستوى الحماية المناسب و [...].
نحن نستخدم ملفات تعريف الارتباط لتحسين تجربة التصفح الخاصة بك، وعرض إعلانات أو محتوى مخصص، وتحليل حركة المرور لدينا. بالنقر على "قبول الكل"، فإنك توافق على استخدامنا لملفات تعريف الارتباط.